Contact Us

Use the form on the right to contact us.

We respond to most emails within 24 hours.  

9642 Randle Rd
Williamsport, OH, 43164

Honeyrun Farm produces pure raw, honey, handcrafted soap, and beeswax candles in Williamsport, Ohio

Blog

Right Away Quick Splits

Jayne Barnes

-Posted by Isaac

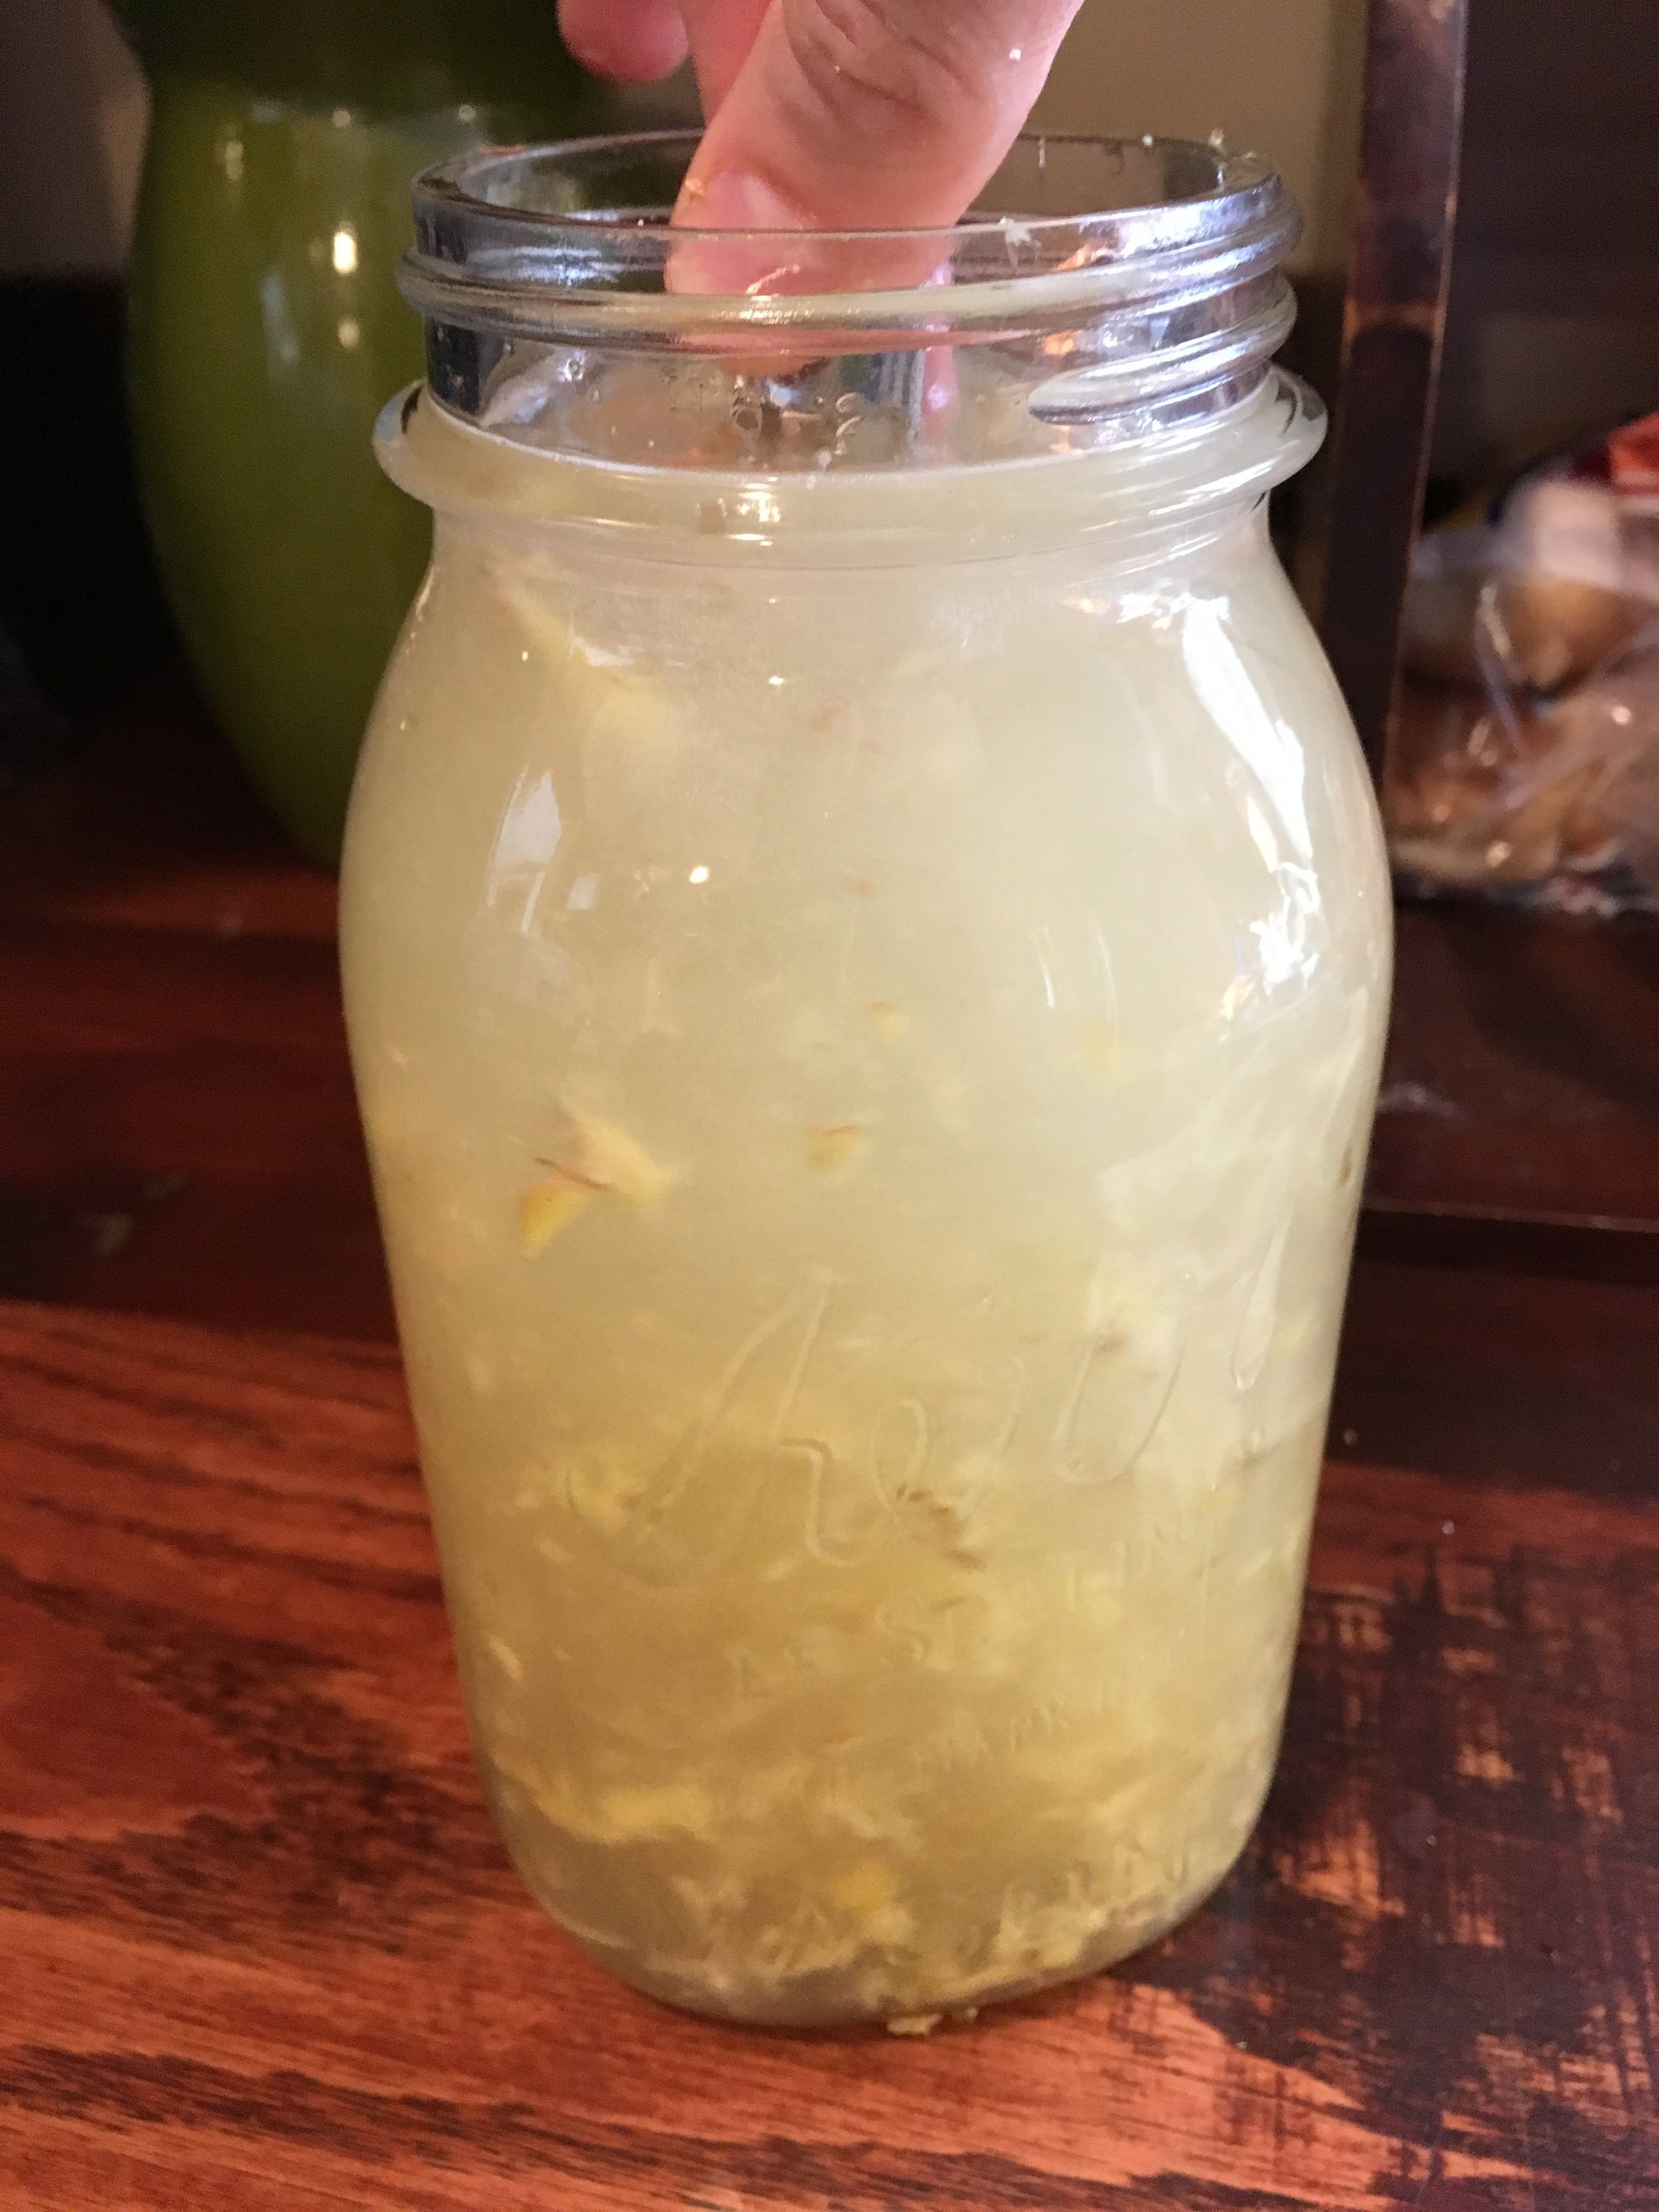
The last post was about fattening the bees up on artificial pollen. Well, that time has past. 

The bees are doing just fine now on the real thing, thank you.

In fact, they're blowing up.

We've got to do something!

We've got to do something!

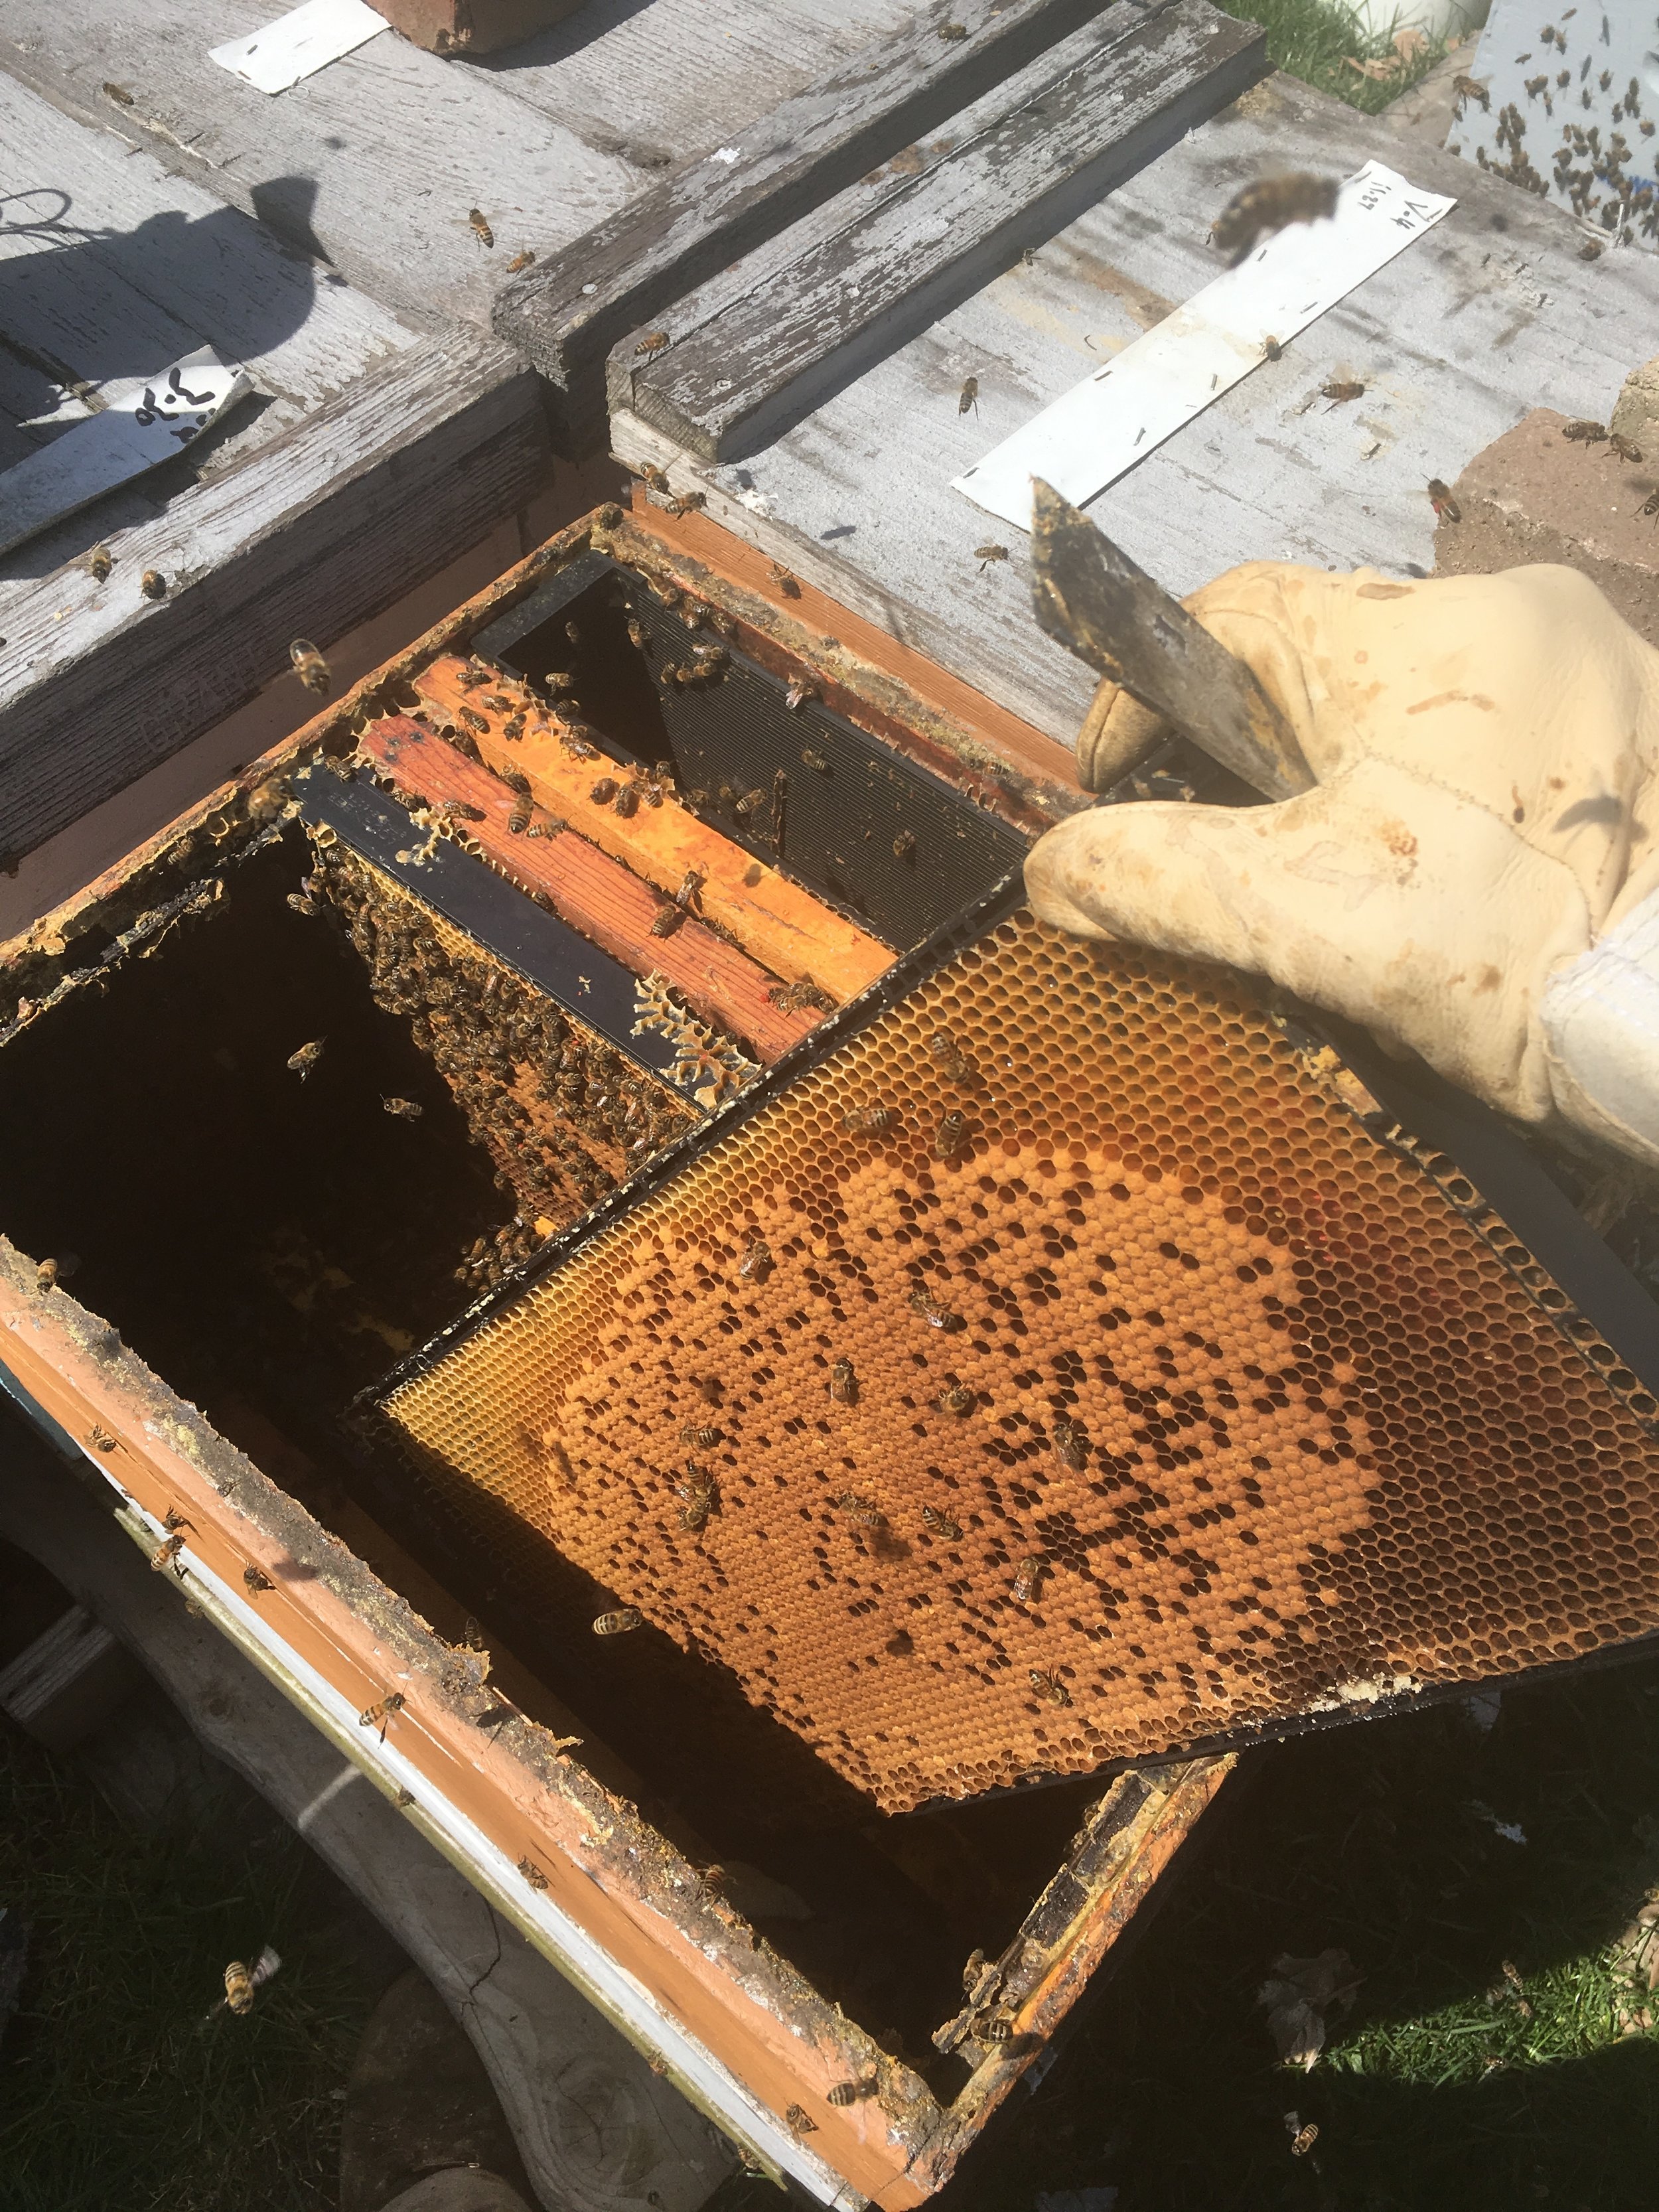
Ha ha, April Fools. This picture was taken during the splitting process. Sometimes the hives look a little out of sorts.

This is a post about how we relieve the spring congestion problem by splitting the hive.

Quickly.

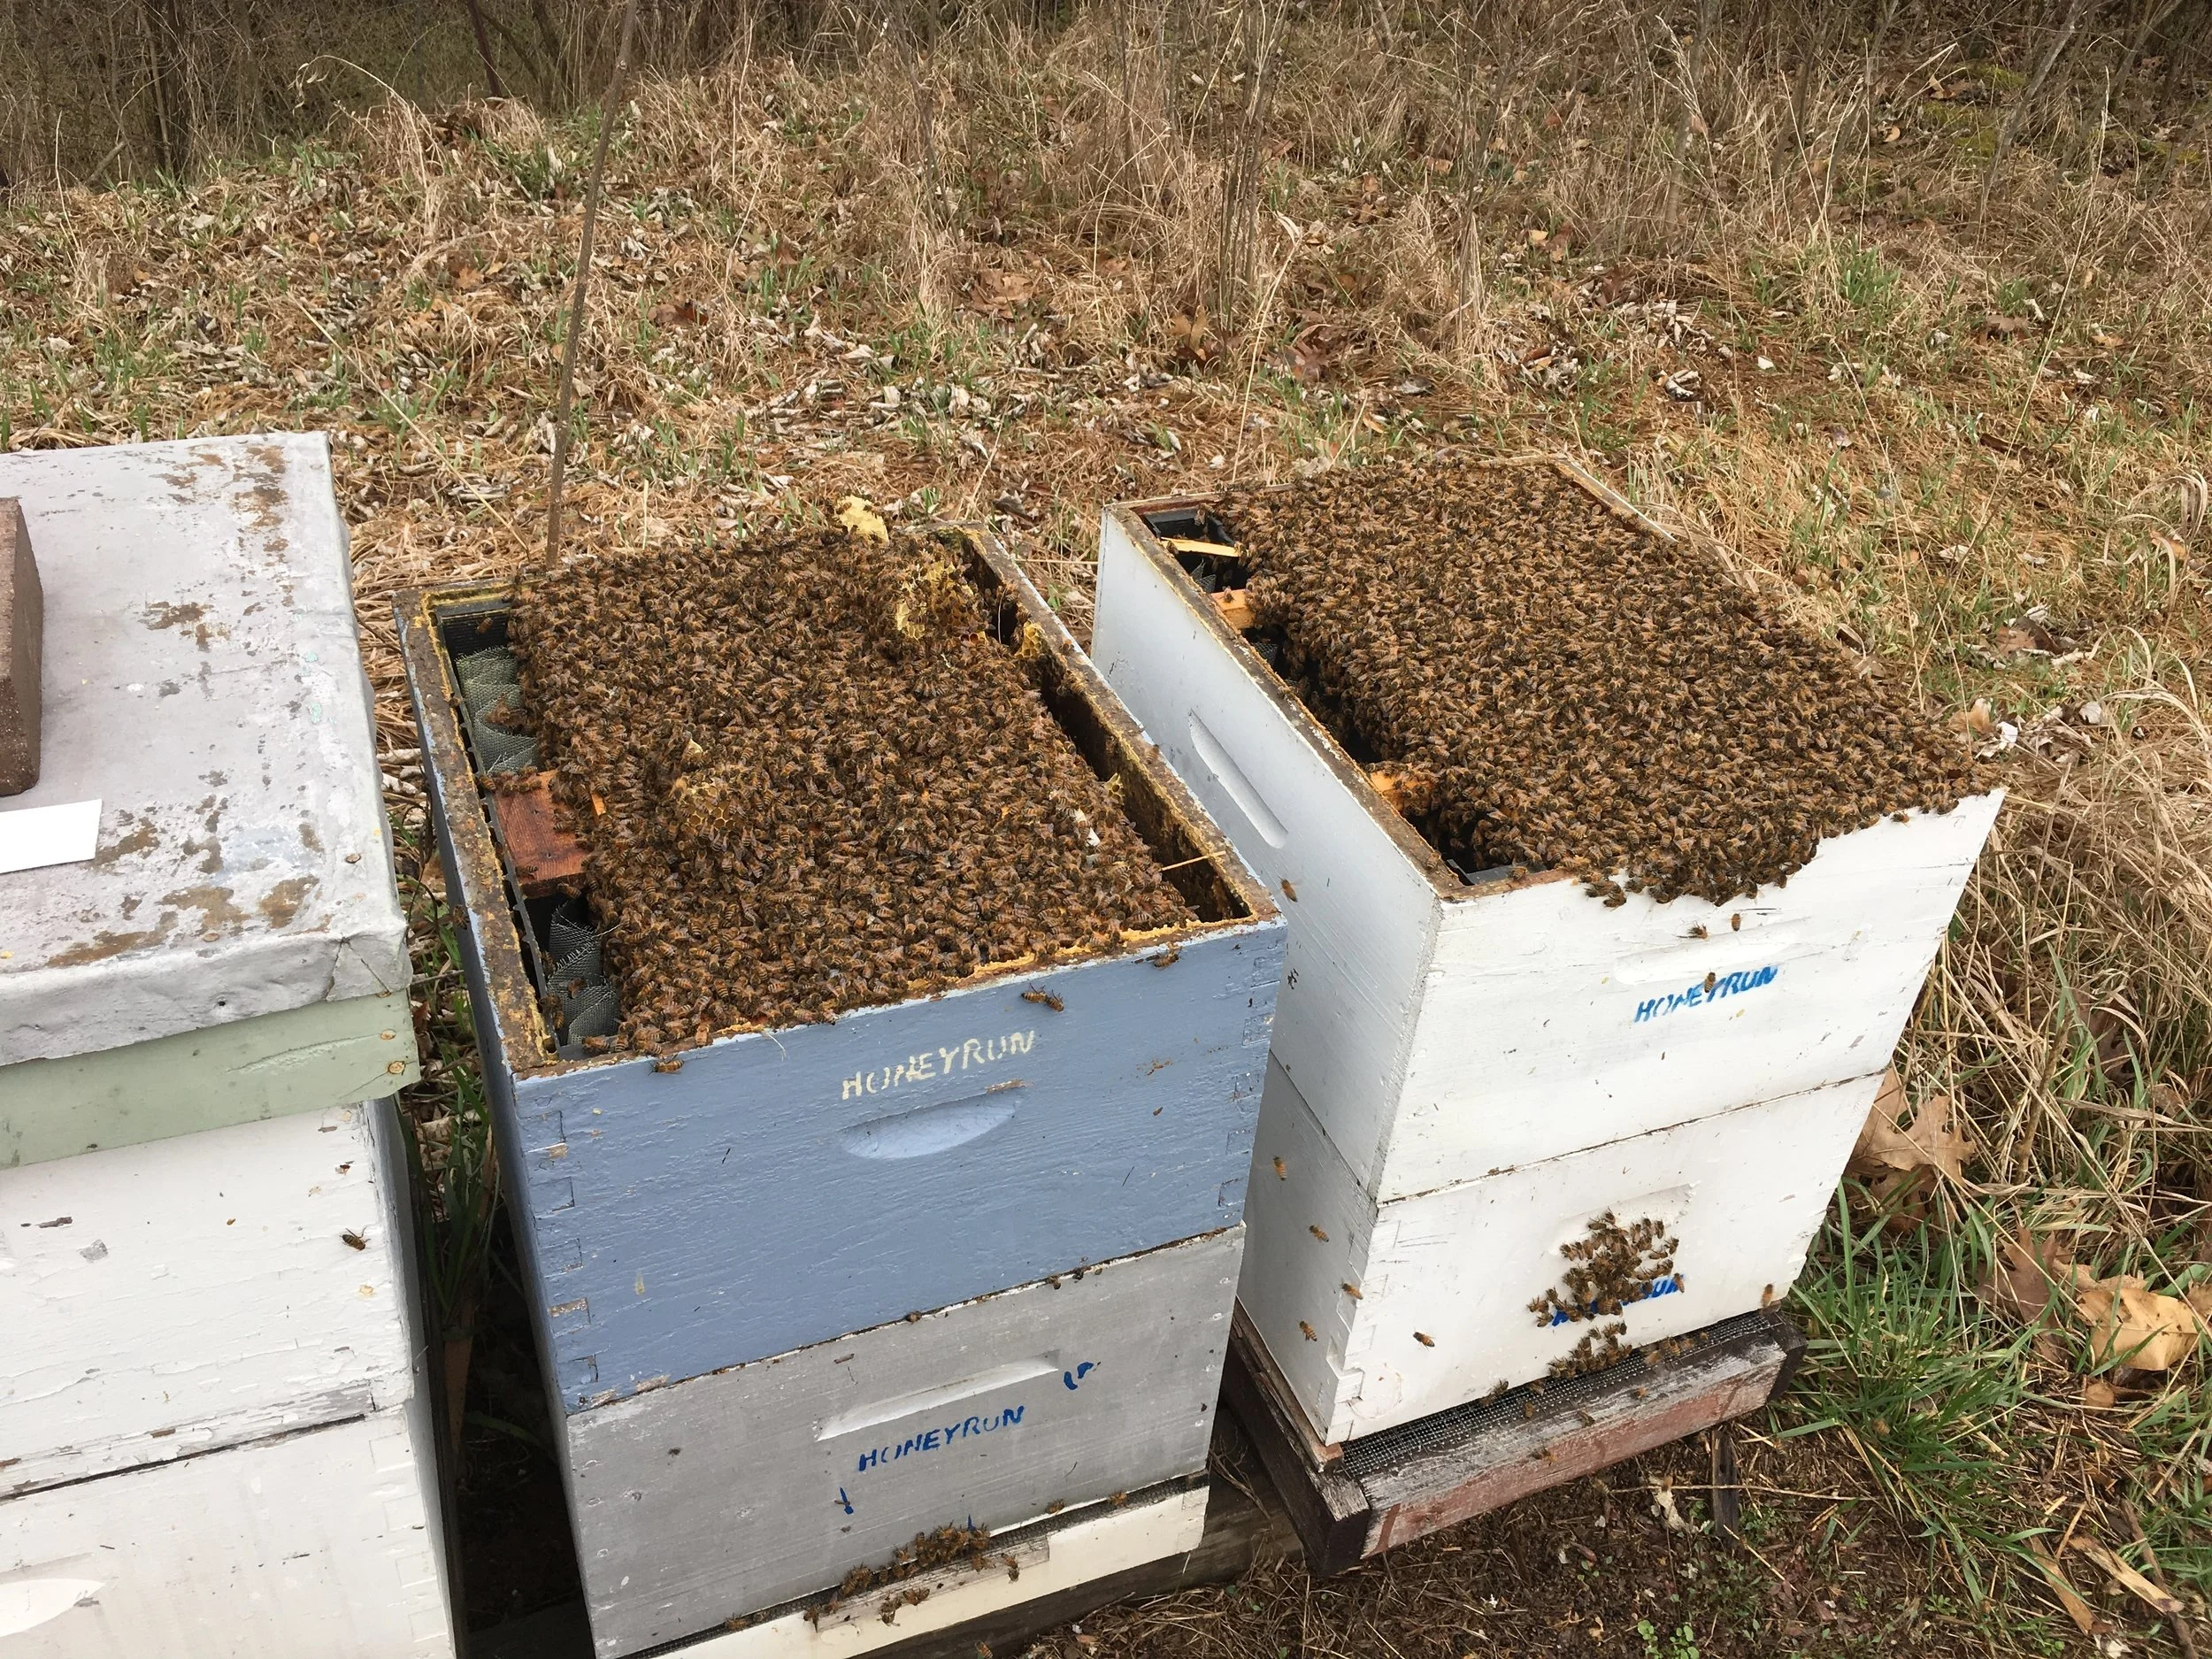
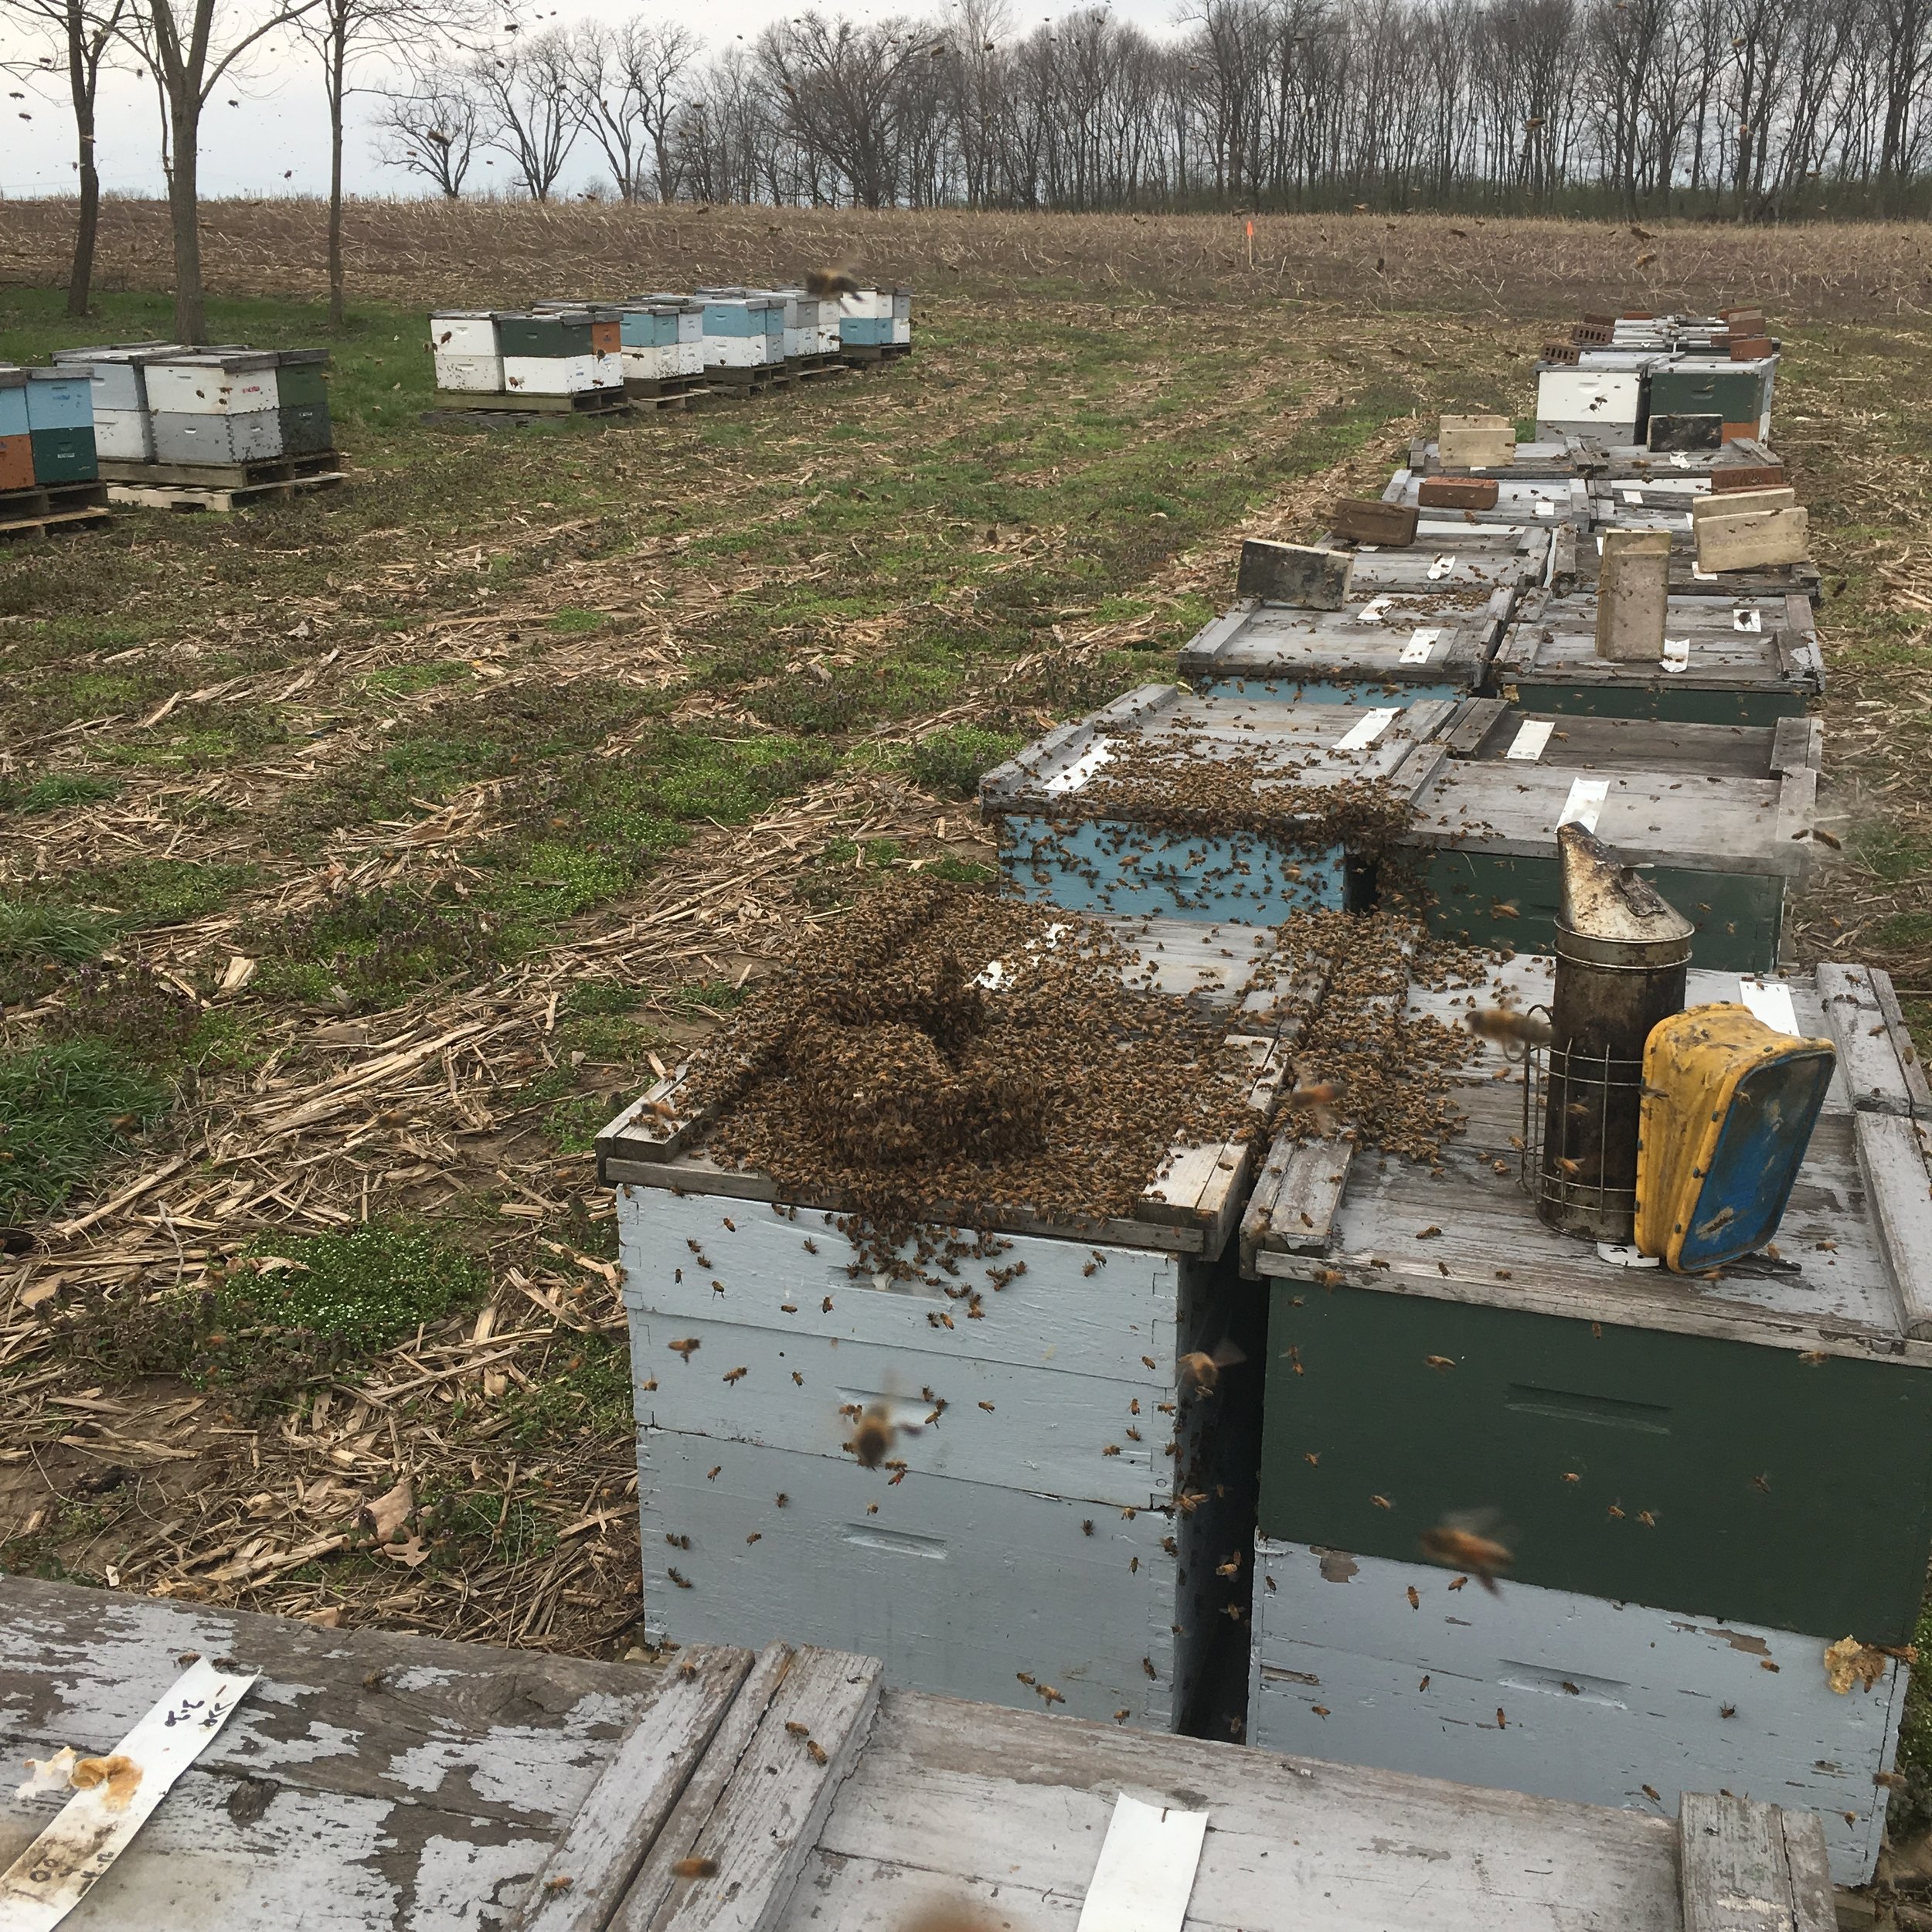
It's only the first week of April, but the mild winter gave us some huge hives. We have split around 200 already, and day by day, yard by yard we'll be making our way through the next 400 by the middle of the month. Hopefully.

Splitting hives and working alone is the best. I've got my wandering thoughts to myself, and there's no one around to look at me funny when I talk to the bees. By myself, if you include all the steps, I can split a hive in about ten minutes. Working with someone, we average something more like six minutes, but it's not as much fun. I have to act all serious and pretend that this beekeeping is hard work.

Truth be known, it's so fun it's the easiest job I've ever had.

Here's a little step by step. It can happen all at once, or over several trips covering about a week.

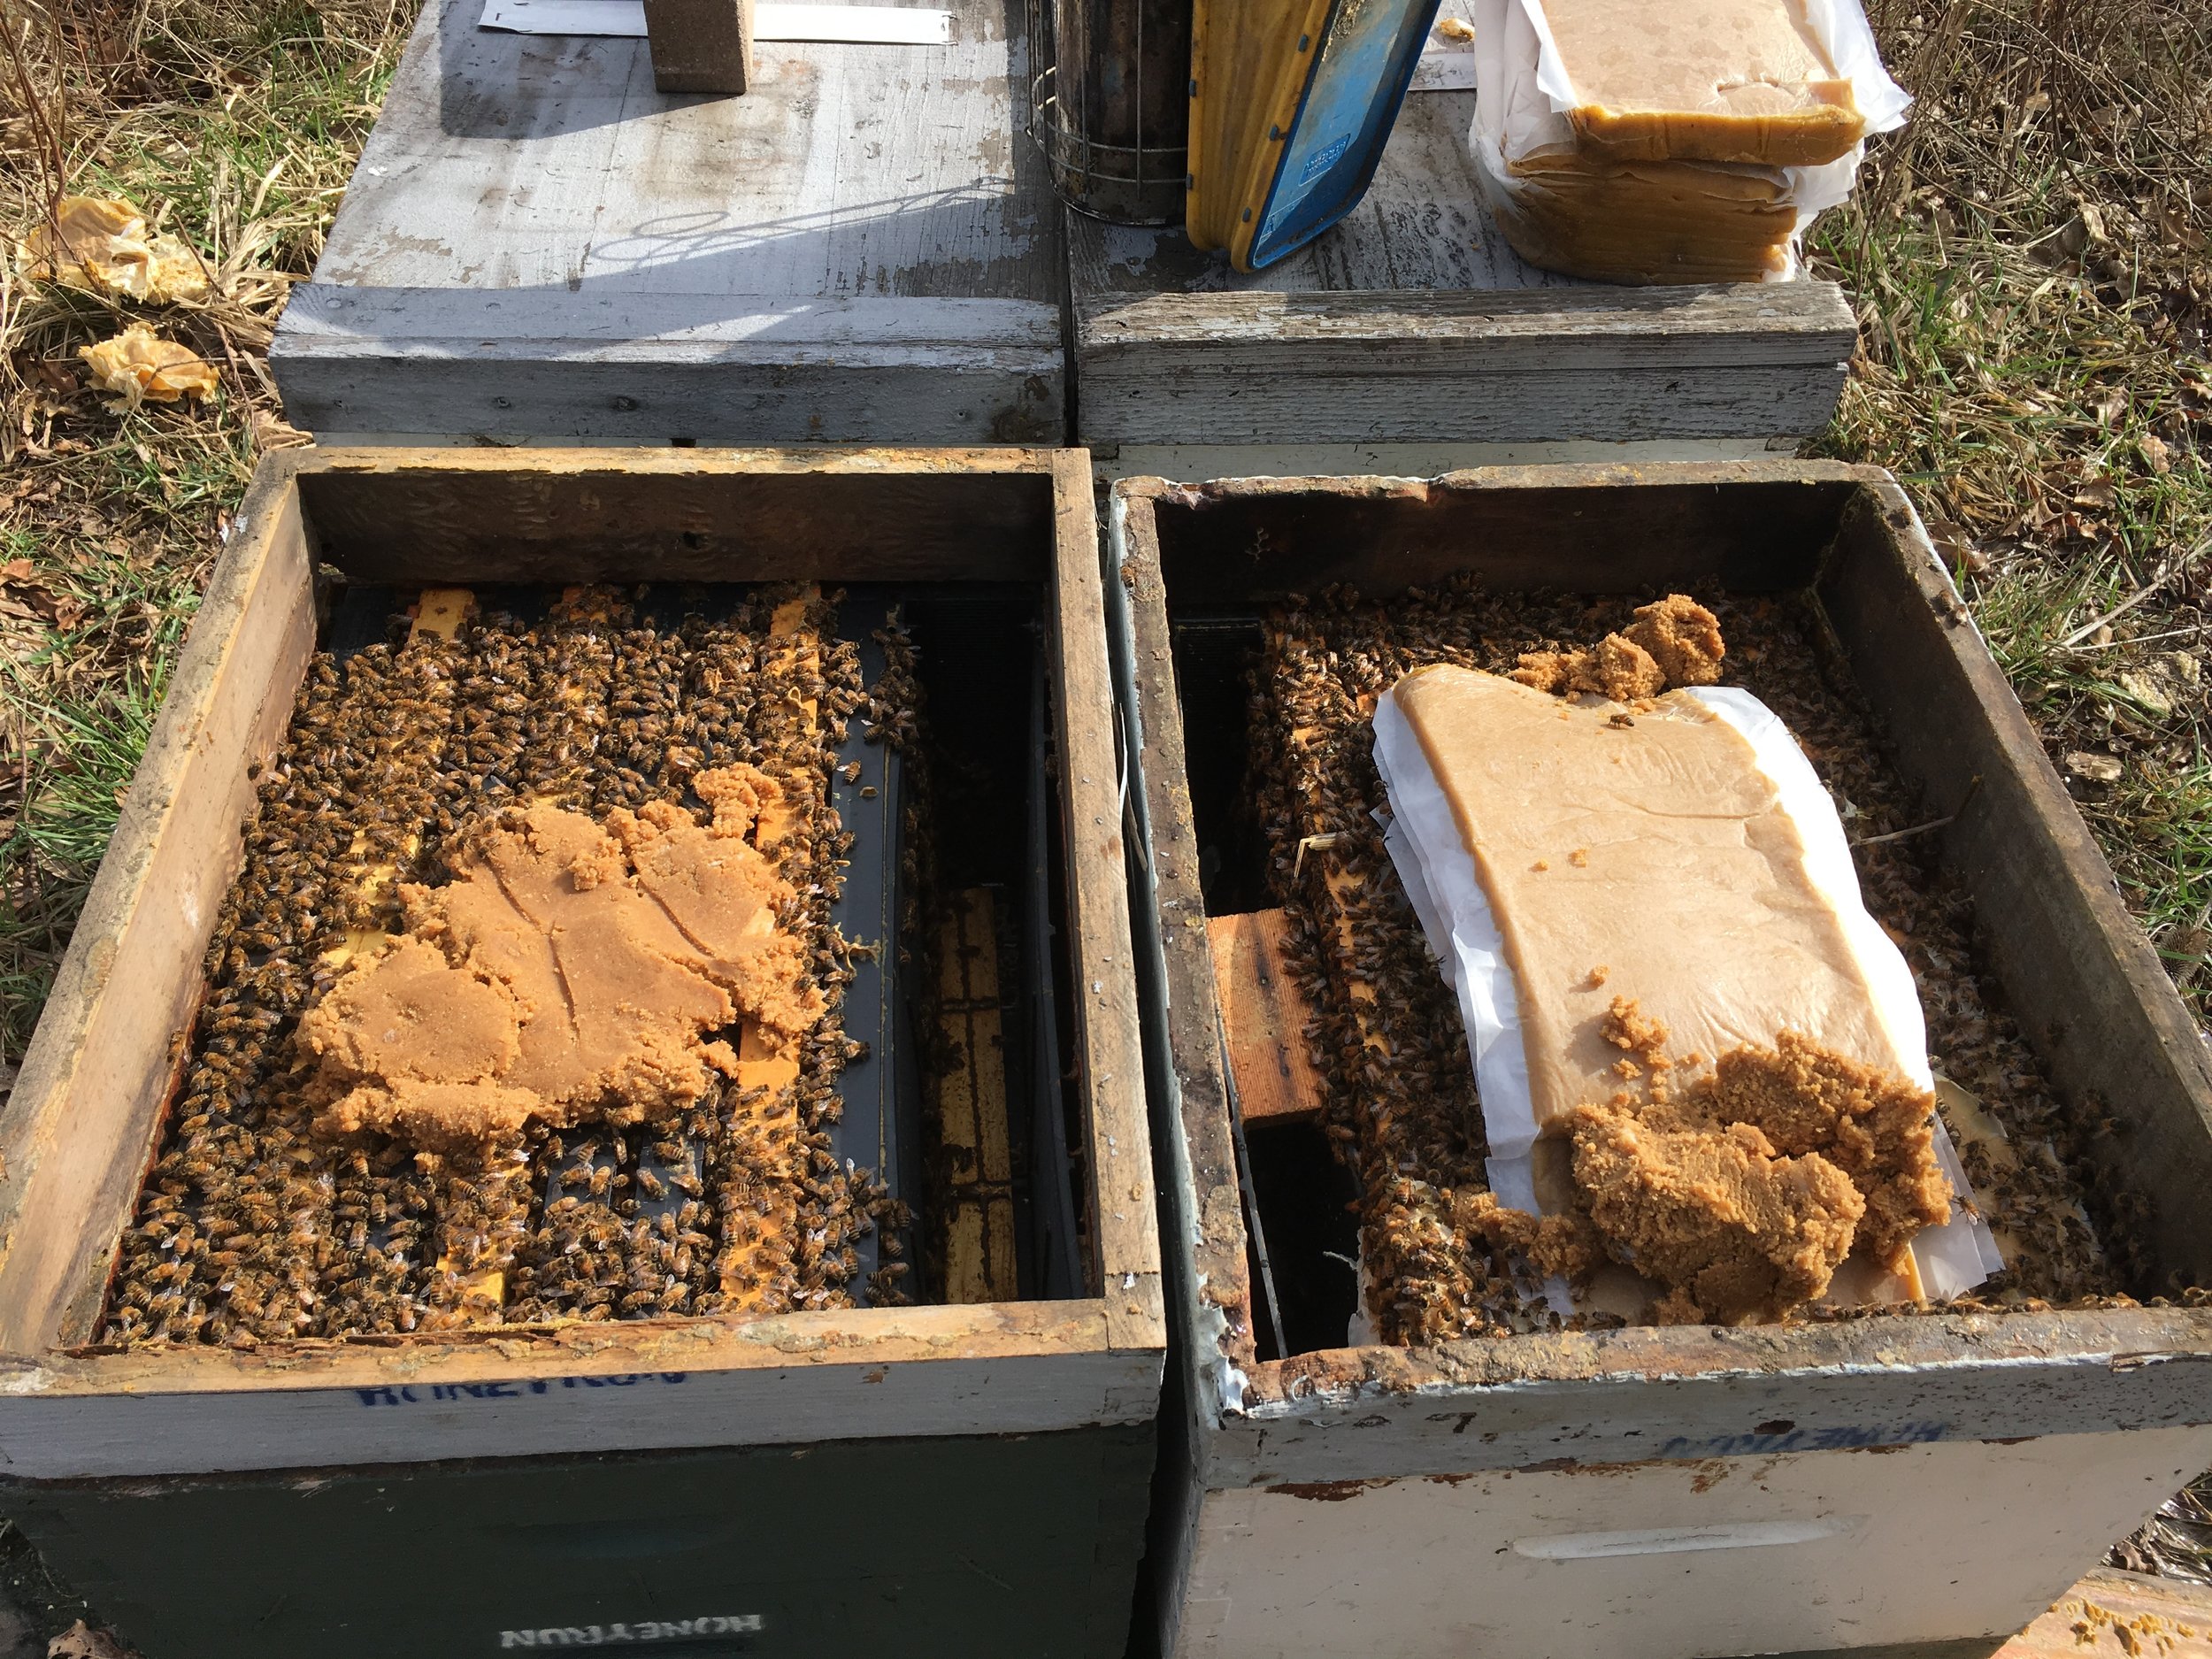
When we arrive at the yard, things need cleaned up. Most the the hives are still working through some winter feed, and all the spacers need to be removed and put away.

Once things are more tidy, it's time to smoke the bees down and one by one shake each frame.

What we're doing is finding that elusive queen without actually having to find her. We're simply putting her and all the rest of the bees into the bottom box. It's pretty fast. 

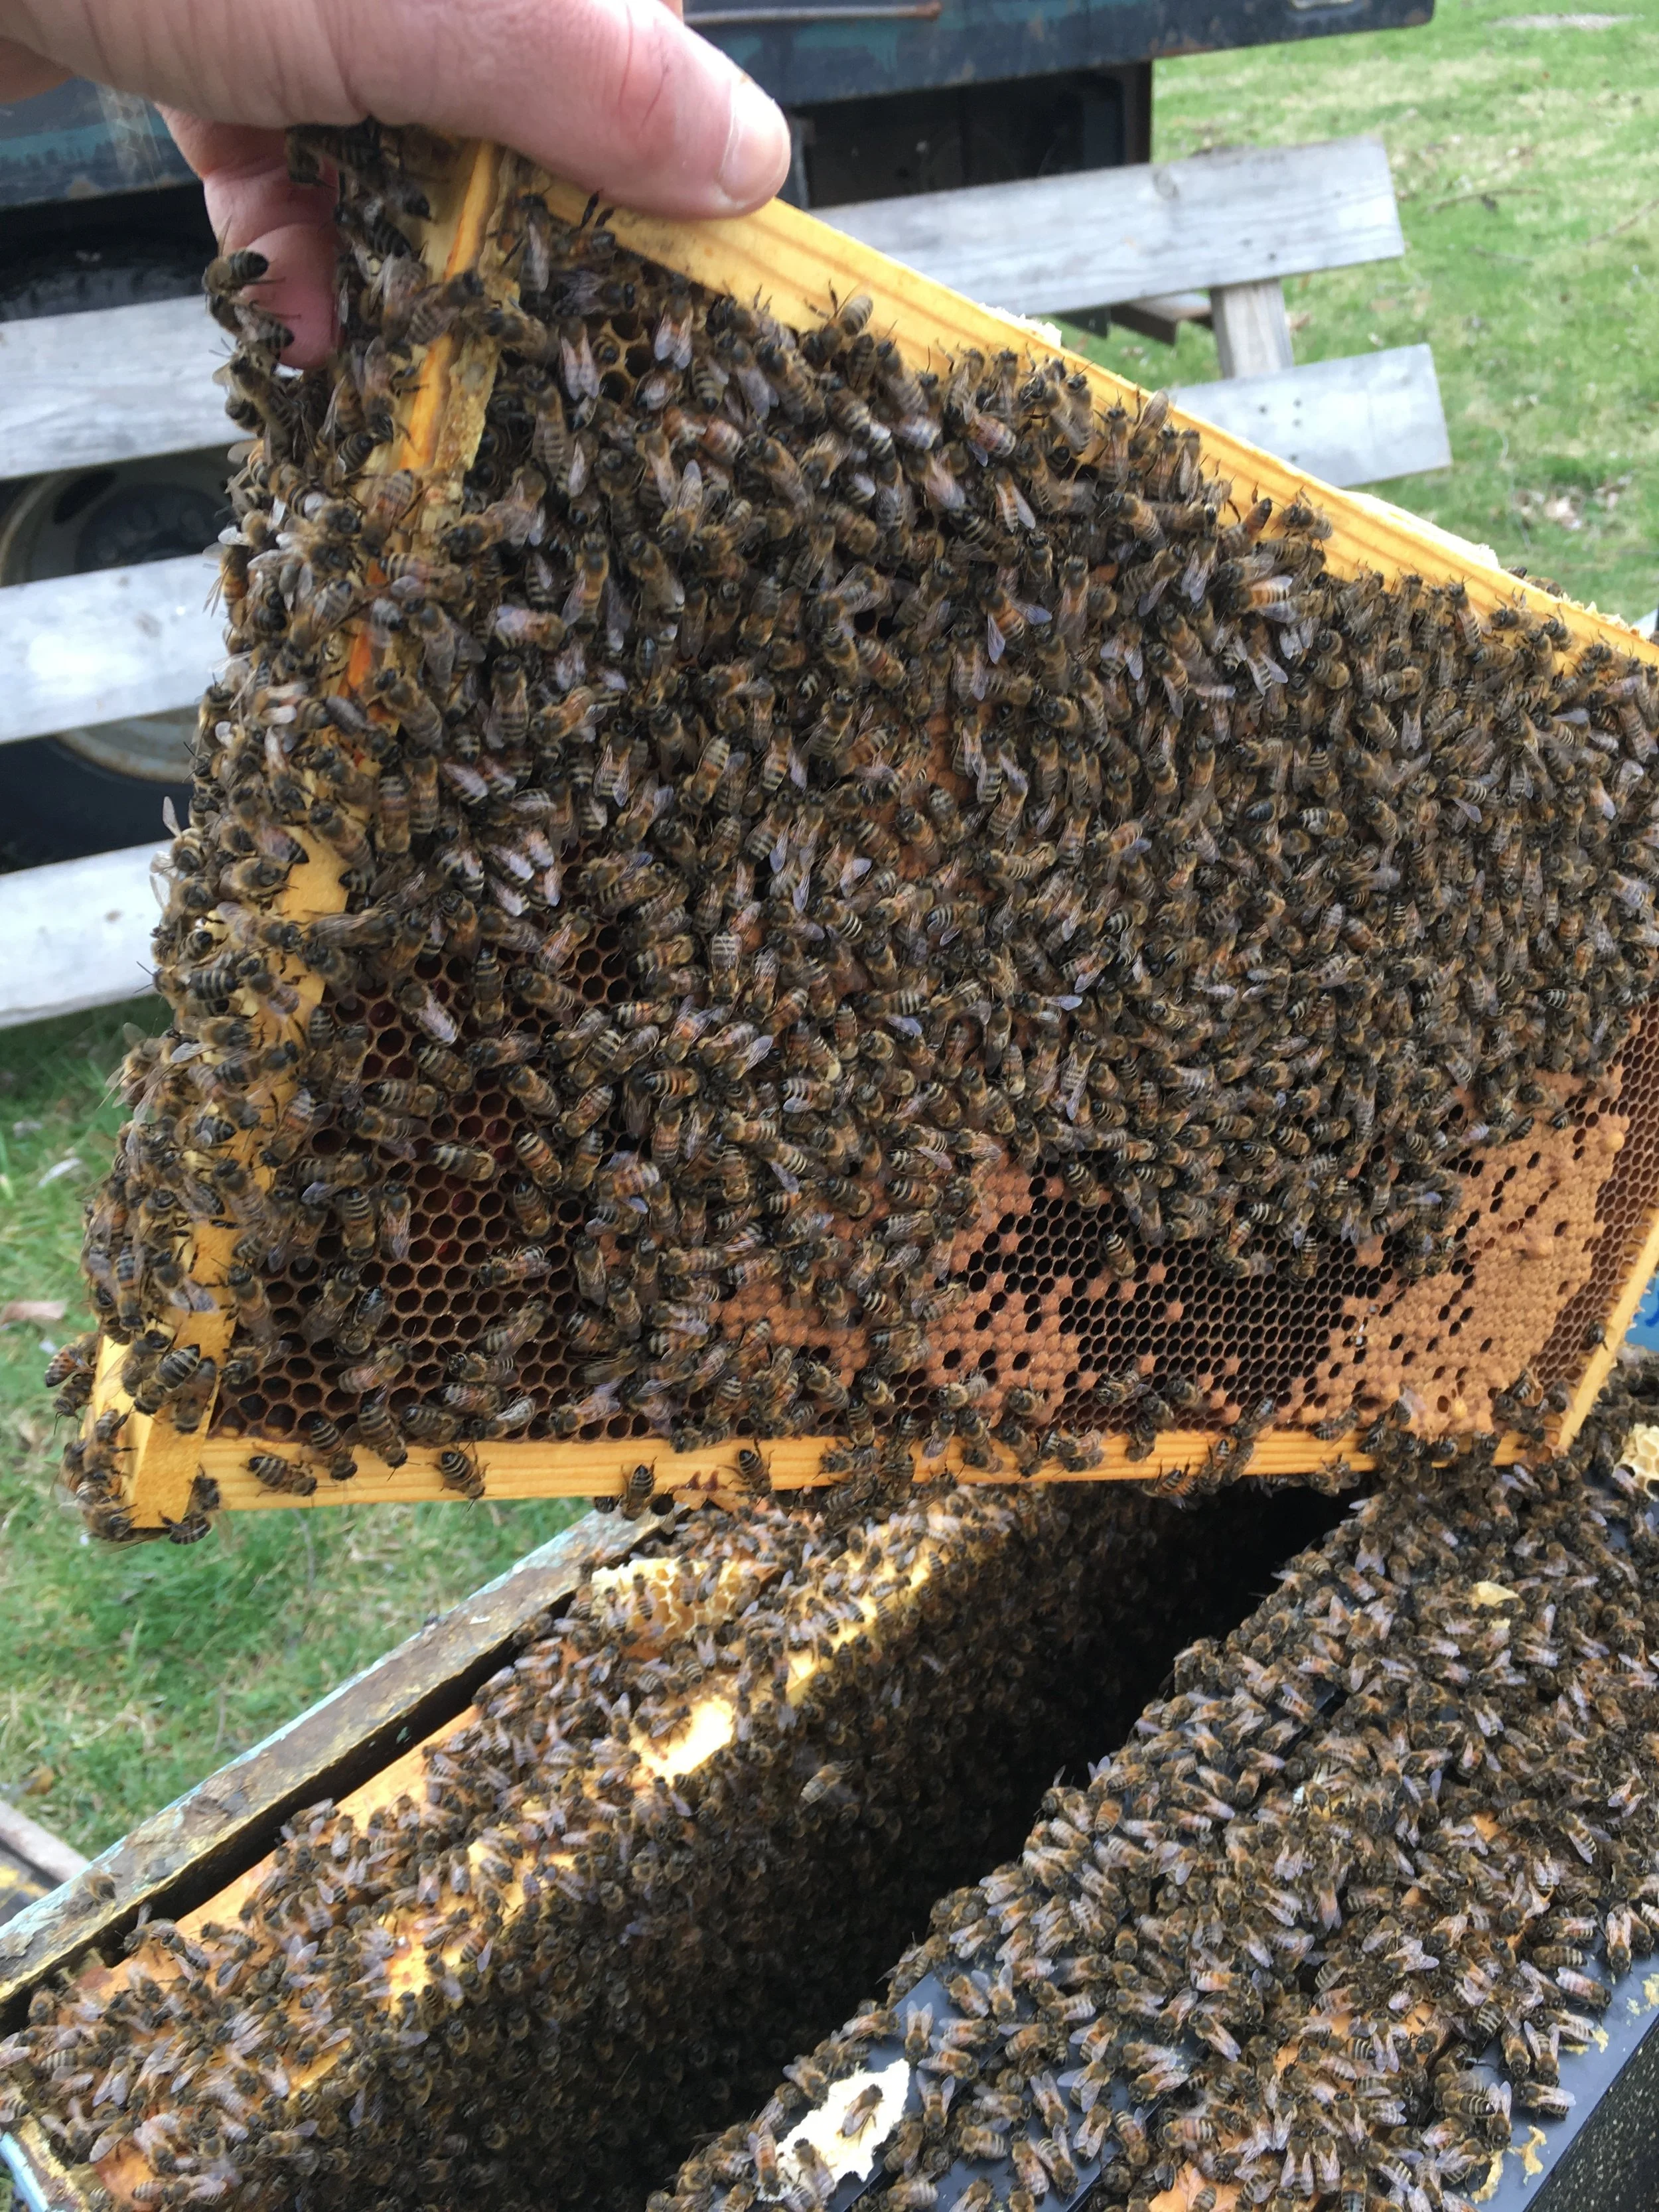
The center frames have the brood nest. Great looking brood for early April.

One guy puts some sugar syrup in the bottom feeder and throws a queen excluder on. We're going to isolate that elusive queen to the bottom box.

The other guy scrapes propolis off the lid and the now empty top box. It makes working a hive much easier if it's not all gunked up with proplis.  If I'm working alone, well, I cut corners. Not everything gets scraped.

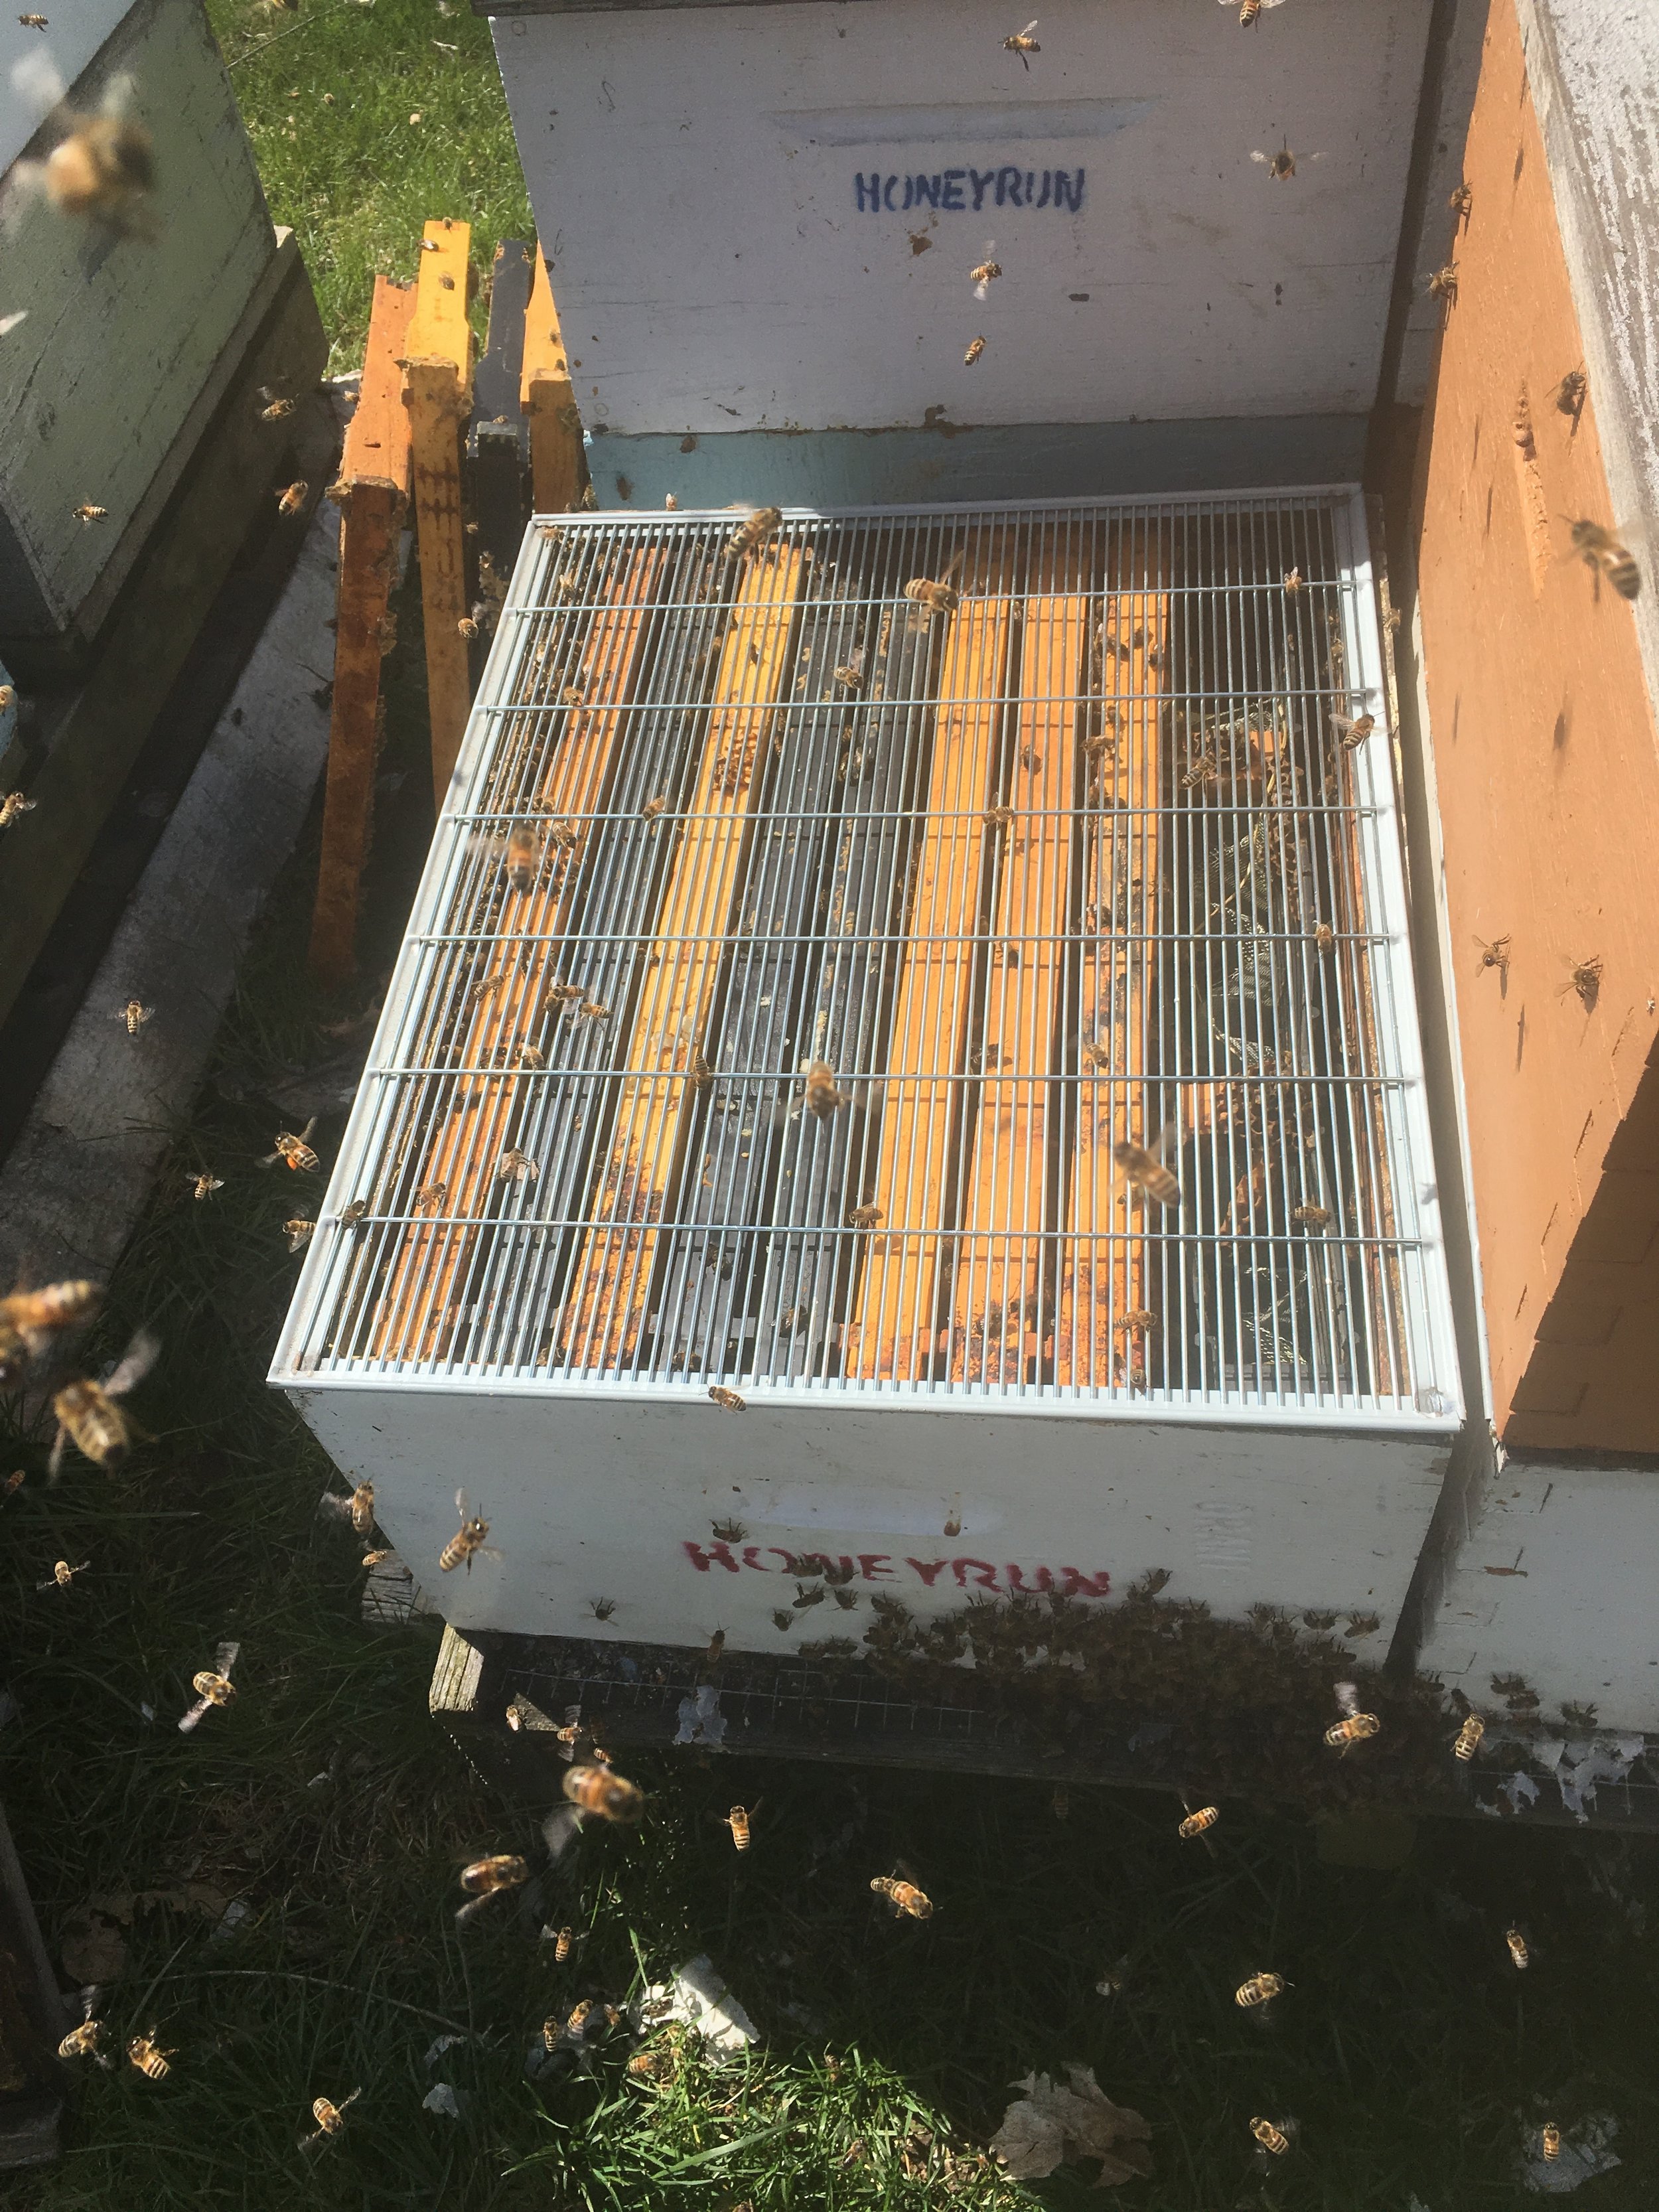
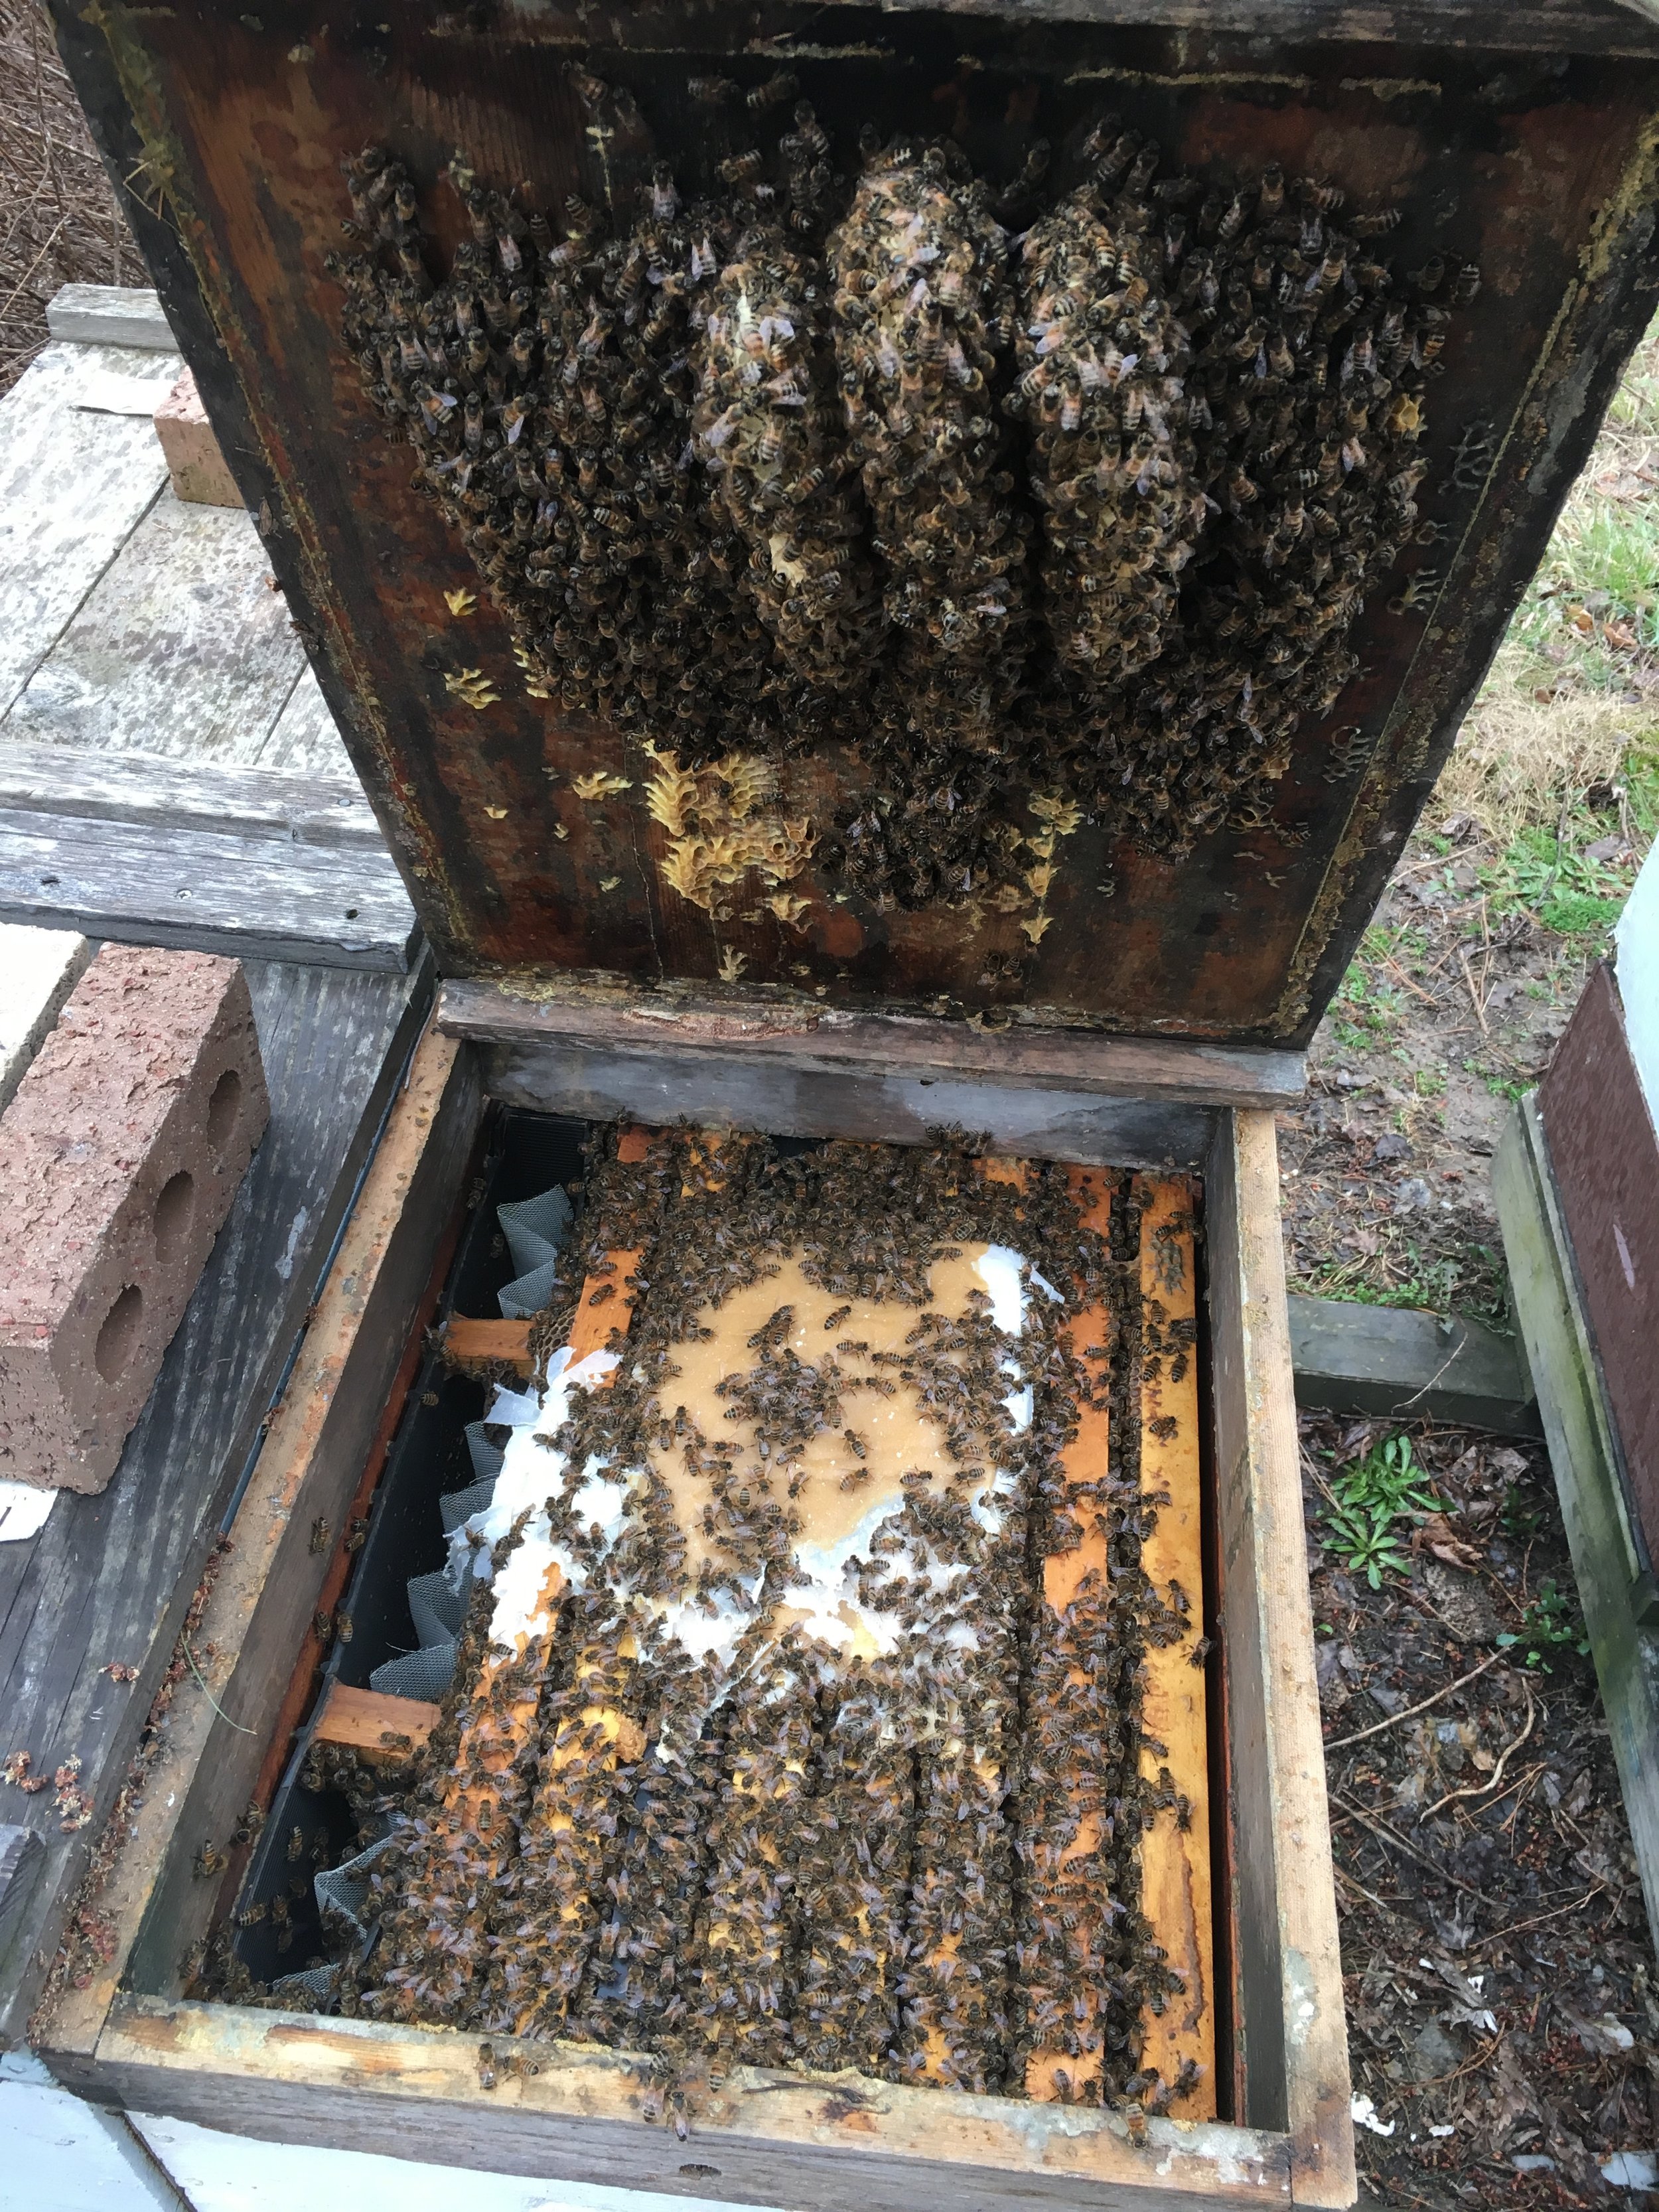
It doesn't take long before the bees come back up to protect and care for the brood. The queen stays in the bottom box.

In theory, you could start grabbing brood as soon as there are enough bees covering the frames. Usually what happens is that we move on the the next yard and come back in a few days.

I've missed some photos showing the removal of the brood and replacement with new foundation. Sorry about that.

But it's a pretty simple recipe- take out three frames of brood and bees. (Ideally capped brood) Add one frame of honey/pollen. Put in replacement frames. (Ideally drawn comb) Right now all we have is foundation. And oh yeah, don't forget to remove the queen excluder. With a little feed and the coming spring nectar flow, the bees draw out new foundation in a heartbeat.

 If you want to keep all the older bees, you need to take your split to a new location.

And this time of year you need a queen. By May, if you don't feel like shelling out another 25 bucks, you can skip the new queen step. (But there are a few more details to explore if you're making a new queen.)

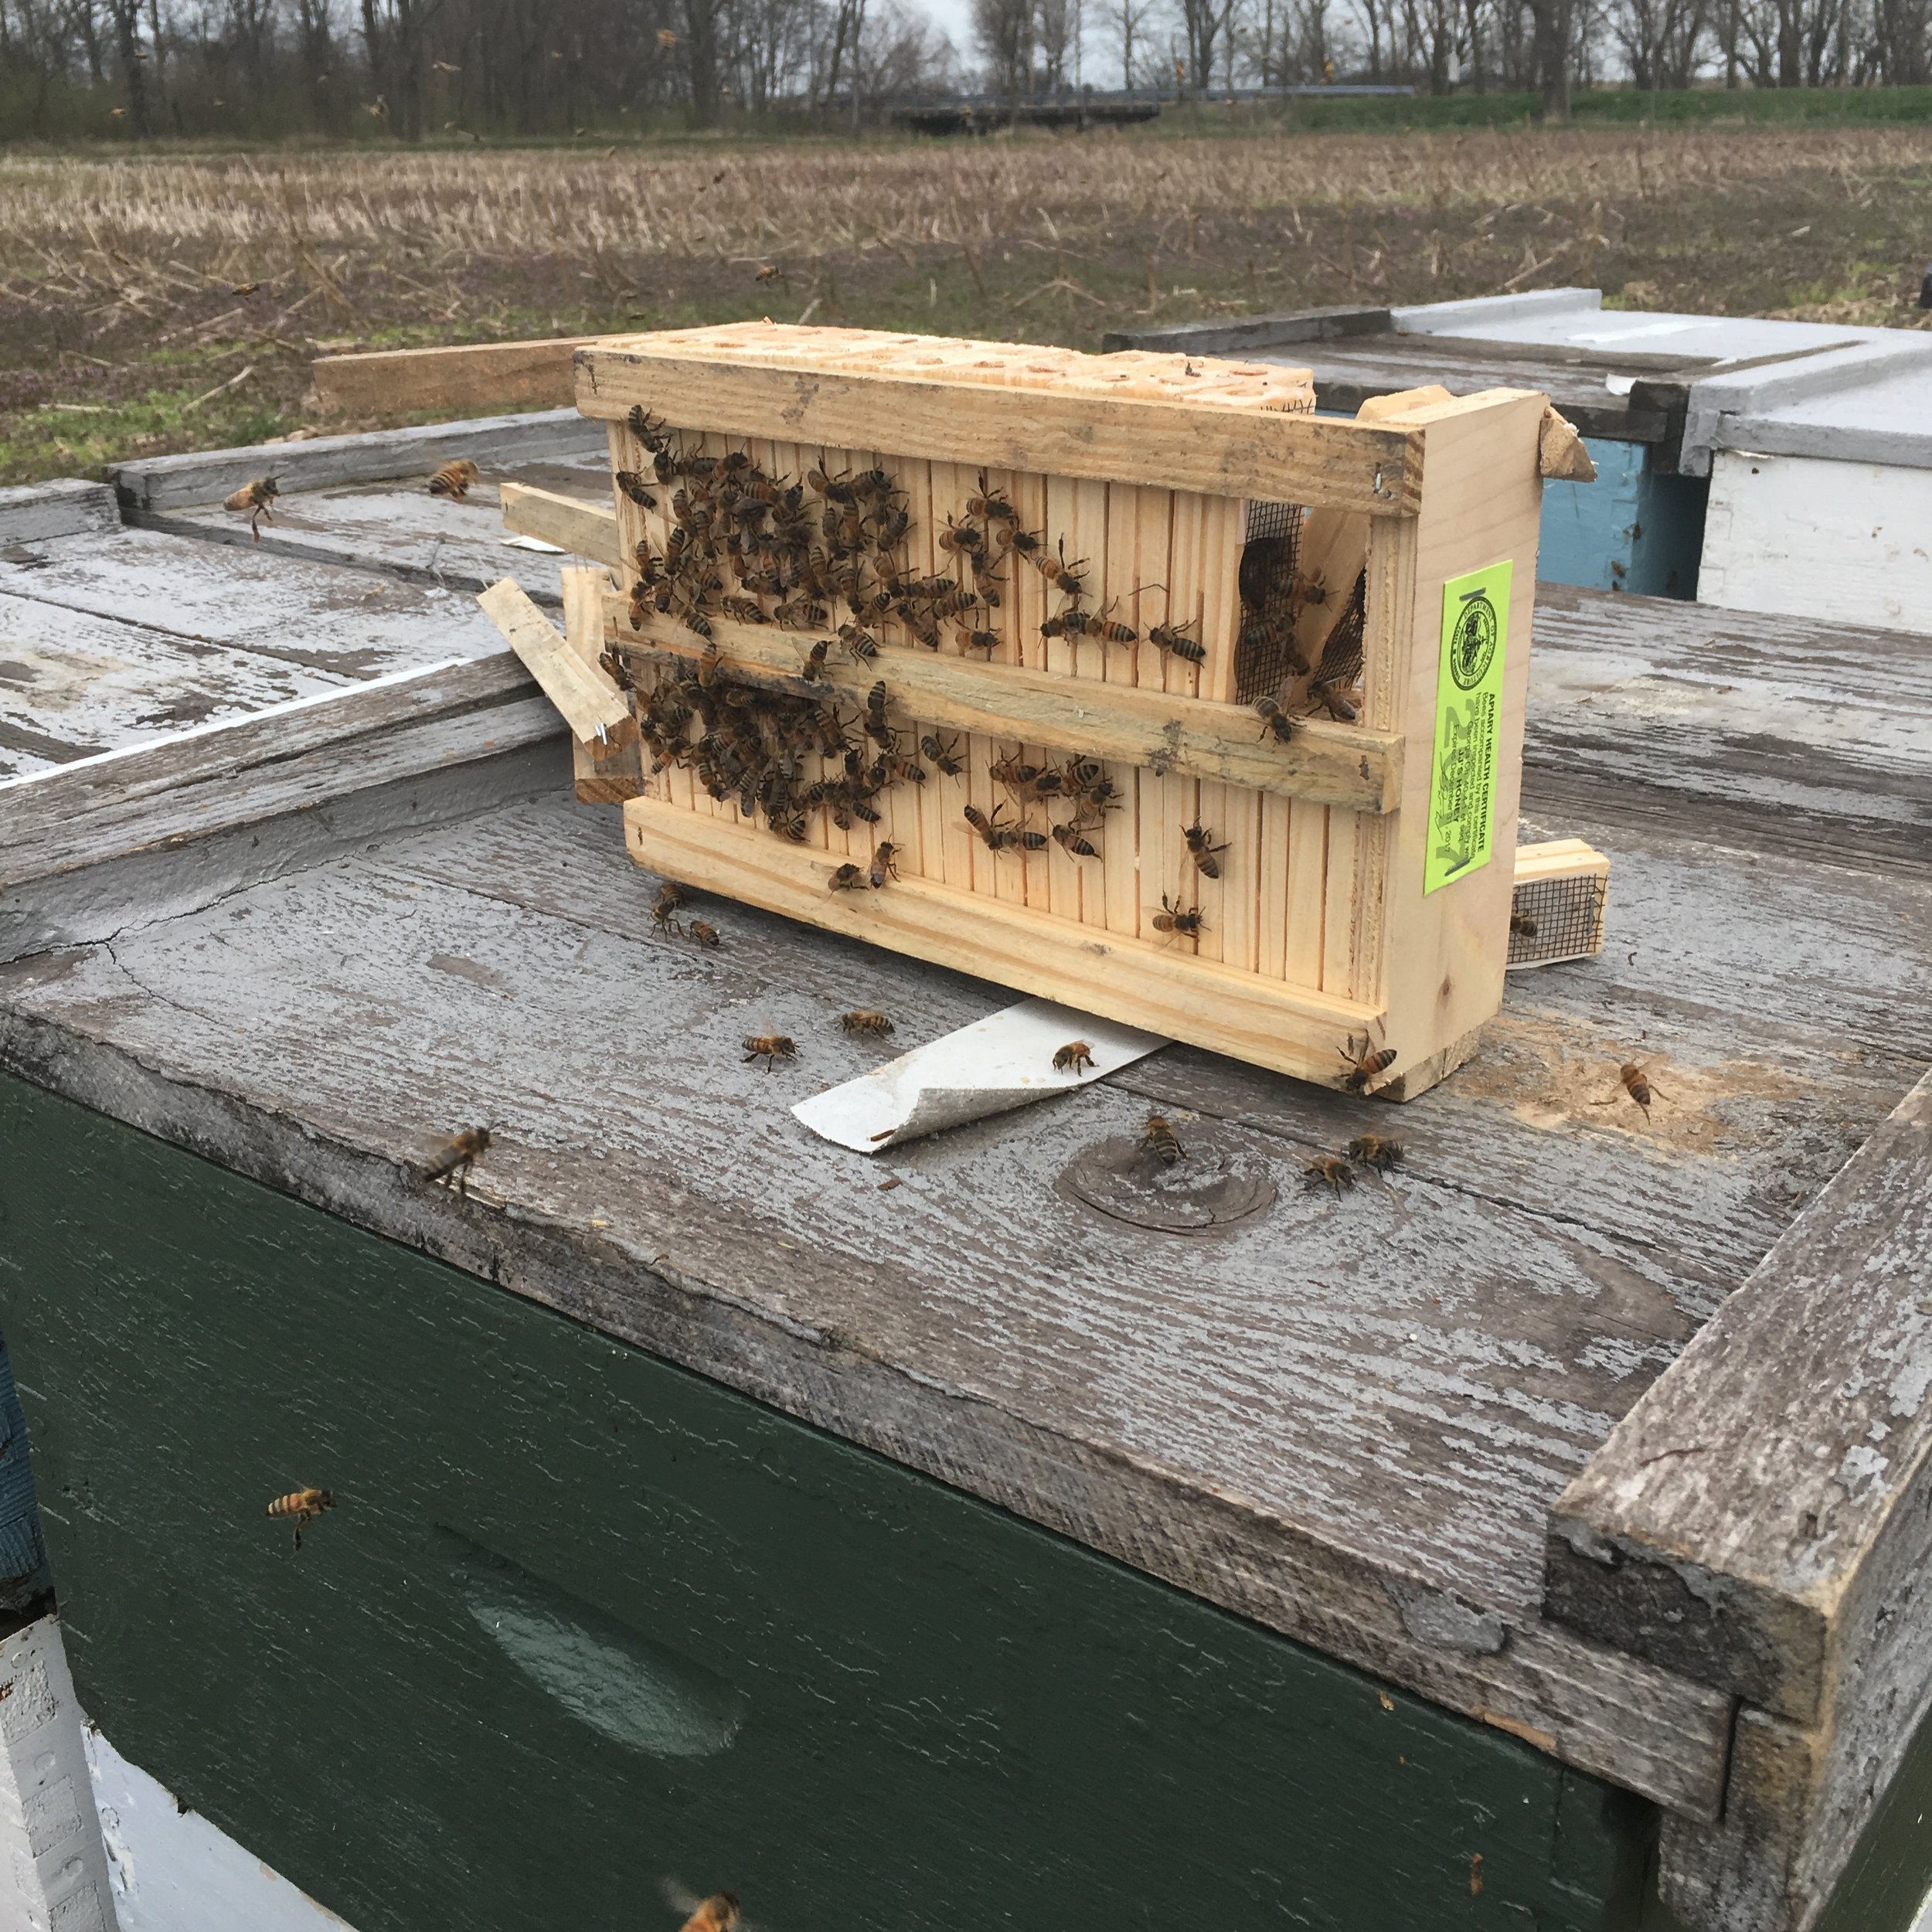
Above are fifty young beauties just arrived by next day air.

Within about fifteen minutes the bees have discovered the queens.

It takes about half an hour to install 50 queens. But only if you're all set up and ready, having done the real work days in advance.  

The first queens went into strong splits that will soon be going into the apple orchards.

These girls have work to do!

A strong split is basically the entire brood box. Maybe five or six frames of brood.

Most of the splits in the next few weeks consist of three frames of brood going these cute little nuc boxes. It's our first year selling nucs in mass. Both exciting and a little scary. 

These girls will have work to do too. I suspect some of that work will involve educating their owners.

Ve vant to pump (!) you up!

Jayne Barnes

-Posted by Isaac

Silly bees, pollen is for kids.

Yes we take a little pollen every fall. And yes, the bees need it. So we don't take very much.

But it's so dang delicious and nutritious. And sells for such high $. And and it gives our crazy-like-a-fox three year old some moments of entertainment. ("I'm a wolf!")

Especially the post-cleaning pollen dust. She loves this stuff.

And if you mix the dust with a little sugar, you can feed it right back to the bees.

Just a touch of sugar.

Pollen is the bees' source of protein. They need it! More so than carbohydrates (nectar) this time of year. They are trying to build rapidly to catch the spring nectar flow and hopefully, instinctually, throw a swarm in May. They say the queen is laying some 1500 eggs per day. I've never watched to make sure, but it really does seem like she's busy. The March growth is amazing!

And when our queens get busy, we get busy. It's time to feed protein! Actually, this post may be a little late. It was time to feed protein three weeks ago. With the return of the warm weather, I'm seeing plenty of willow and dead nettle pollen coming in.

Unfortunately we don't have enough real pollen dust to cover our protein needs, so we buy a lot of artificial pollen dust. Here are the magic ingredients:

Cinnamon? Lemon juice?  Ahh.... the magic ingredients.

Cinnamon? Lemon juice?  Ahh.... the magic ingredients.

Plus water.

Some years I'm lazy and buy a lot of pre-made protein patties. They look a lot like the winter sugar patties, but are about twice as expensive.

This year I spared myself that costly convenience, and one fine rainy day I mixed hundreds of pounds of protein supplement.

When you mix, you need buckets or tupperware or something to hold all this sloppy stuff. I don't like to use our normal liquid feeding buckets or, heaven forbid, our nice honey buckets because of all the washing involved later. So luckily I still have some old condom buckets lying around.

(Even if you got that, please don't comment.)          (Hey, it says "All Purpose.")

(Even if you got that, please don't comment.)          (Hey, it says "All Purpose.")

So once this stuff is mixed and ready, we simply take it out to the bees. It can be squeezed between the brood boxes, or if your winter spacers are still on, you just put some protein on top in combo with the sugar patties.

It's not BRAWNDO, but it's got what bees crave!

Pump you up, short clip, audible as opposed to the other one one...

We're looking for muscle bees here!

The results speak for themselves.

Like my beekeeper friend Dan Williams said last week, "They're about to blow a gasket!"

(That was about his bees.)

Sometimes I think we pump them up too strong. Hives growing this fast in March just means we have to work that much harder and faster to keep up.

See all that burr comb on the cover? That will soon be solid drone comb.

And soon after all those drones emerge, we will be solidly into swarm season.

How to make a Ginger Bug

Jayne Barnes

-posted by Jayne

Today I am sharing a honey recipe for a "Ginger Bug", that can be used to create fizzy fermented beverages sometimes called ginger beer or natural soda. These are great if you are trying to cut the habit of drinking pop and other unhealthy drinks. It is similar to kombucha, but the ginger bug is a wild ferment made from naturally occurring bacteria.

Ingredients Needed: 2 TB Raw Honey, 3-4 TB Organic Ginger Root, and 1 quart Filtered Water

Grate your ginger with the skins left on and mix it with the honey and water.

Add filtered water to top the jar.  Stir.

Cover with cheesecloth (I just used a thin kitchen towel.)  Stir the jar every day.  If fermenting longer than 2 days, add more ginger and honey to the jar.  

Part 2 Once the mixture has fermented, you can use it to make a fizzy drink. At that point, you strain off about 1/4 cup of the liquid, mix that into sweetened tea, fruit juice or a combination, and then you pour it into a flip-top bottle or mason jar and secure that tightly. At this point, you want it to be airtight because that is what's going to set the bubbles. Let it ferment for about 3-5 days after that.

If you're using a mason jar, make sure to burp it from time to time to prevent over-accumulation of carbon dioxide and other gases.

Weathering the weather

Jayne Barnes

-Posted by Isaac

The first thing that needs said is that the bees are looking fantastic.

Hive after hive, just bursting at the seams. I've never seen them looking so good at such an early date. But maybe I said that last year, I don't know? It was our spring in February that did it, of course. A few 75 degree days can trick about anyone. Even maple trees and queen honeybees. The result: now we've got a lot of mouths to feed.

A week ago I made it around to almost everybody, checking and feeding, thinking about the splits to come.

And wouldn't you know it, old crotchety mother nature pulled another sneaky trick. A dirty trick. 

This morning I loaded up for honey deliveries with numb hands and stinging ears. Dark and windy and oh so freakin cold! The radio told me it was a negative two degree windchill.

Our pachyderms of Goodale Park welcomed the Ides of March with snotcicles.

"Et tu, Brute?"

"Et tu, Brute?"

We weathered the last cold snap with a hot tub. It was a nice February getaway. A quiet, romantic outing to the Hocking Hills. Hehe. Yeah right.

The warmth quickly came back and tricked the bees into brooding up early.

And then came the flooding.

Which was disheartening for me because I couldn't reach many of the bee yards for several days. However, Bridger weathered it like a champ. But some people will work through anything.

I eventually did manage to make it around to most of the yards. But March always brings other fun distractions.

For instance, we have a couple birthdays.

And there is always the annual Westfall Science Extravaganza.

For the really tough questions, we had an expert on hand.

And finally, finally.... today after deliveries, I made it to the last two bee yards. By afternoon it had heated up to a balmy 20 degree windchill.

More sugar patties and a shot of protein. Yes it's time once again to give the girls some protein.  

Which is good. They're building up.

And it gives me something to talk about next week.

The Best Honey Latte

Jayne Barnes

-posted by Jayne

I've found it.  Hands down, the best Honey Latte on earth.

One Line Coffee, in the Short North- uses our Summer Honey in their honey latte recipe.

One Line Coffee, in the Short North- uses our Summer Honey in their honey latte recipe.

Since I only find myself in Columbus, on average, once a week- I needed to try my best to replicate this honey latte at home.  I searched online for several recipes.  They all seemed pretty lame.  Make coffee, add honey- something to that effect.  The owner at One Line actually gave me a run down of the ingredients in their honey latte, and it was a complex mixture of herbs and spices that accompany the honey.  He did it so quickly I couldn't even begin to remember half of it.

Today I am going to share my recipe for an iced honey latte that keeps the honey RAW by adding it to water that is not heated over 100 degrees F.

I use beans from One Line Coffee, and grind them myself.  I used to use the Krups grinder pictured here, but have since upgraded to a burr grinder (also purchased at One Line).  I love love love the burr grinder!  It was a Christmas gift from Isaac and I think the burr grinder produces a better cup of coffee.  But the Krups one worked fine for several years.

I add the ground coffee to a class jar and fill it with filtered water.  

This is what it looks like all mixed together.  Into the refrigerator it goes, for 24 hours.  

After 24 hours (minimum) I use my AeroPress to filter out the grounds from the water.  You could also use a simply coffee filter and allow it to drip out.  But I use my AeroPress daily, whether making hot or cold coffee and it works really well.  

On the left is my new burr grinder, on the right is the AeroPress, I use to press the grounds out of the water.

On the left is my new burr grinder, on the right is the AeroPress, I use to press the grounds out of the water.

After the grounds have been filtered out, you can add milk to your liking, and I add my honey at this time.   To do this, I gently warm a little water in a pan (under 100 degrees) and add the honey to dissolve.  This goes into my coffee/milk mixture.   And there you have it.  A pretty awesome honey latte.